How to Organize a Wedding Seating Chart: A Step-by-Step Guide
By Harita Kapur
Last updated: September 16, 2026
Creating a wedding seating chart can easily feel like solving a complex puzzle, but with the right approach, it becomes one of the most rewarding details to bring together. To keep the process smooth, start with a clear plan: wait until roughly 90% of your RSVPs are in, build a master guest list, confirm your venue layout and table capacities, and group your loved ones thoughtfully. From there, map each seat to balance classic etiquette with a natural, welcoming reception flow.
Whether you're a wedding planner or a bride designing her own big day, mastering this layout is key to setting the mood. A well-designed seating chart directly shapes guest comfort, family dynamics, catering efficiency, and overall room flow—ensuring your room feels effortlessly relaxed the moment dinner begins.
A thoughtfully designed seating chart does so much more than assign chairs—it curates the entire rhythm and atmosphere of your reception. While mapping out family dynamics and room layouts can easily feel like a daunting logistical hurdle, it is truly your opportunity to ensure every guest feels intentionally cared for the moment they enter the room.
To help you navigate the process with ease, this guide walks you through:
Timing & Prep: When to finalize RSVPs and how to build a seamless guest spreadsheet.
Layout Mechanics: How table geometry and head table setups shape your overall venue layout.
Social Dynamics: Thoughtful ways to handle complex family and social relationships.
Design & Signage: Choosing the best seating chart display methods and day-of stationery.
Day-Of Execution: Exactly what to print and confirm so your wedding day runs smoothly.
By approaching your wedding seating chart with a steady, step-by-step process, you can easily turn planning overwhelm into a beautifully curated floor plan, and a reception space that feels effortlessly welcoming.
Step 1: Build Your Master Guest List & RSVP Hub
One of the best gifts you can give your future self is waiting to assign individual seats. We recommend sticking to a simple timing rule: wait until at least 90% of your RSVPs are in (typically six to eight weeks before the wedding day) before finalizing your design. Diving in any earlier almost always leads to unnecessary rework as late declines or surprise plus-ones trickle in.
To keep the process stress-free, build a master spreadsheet to serve as your single source of truth. When setting up your seating chart template, be sure to include distinct data columns for dietary needs, meal choices, and party groupings. This small bit of organization upfront prevents day-of miscommunications and makes your catering team's job seamless.
Here's an example:
Jane Doe
Relationship Group: College Friends
Plus-One Status: Yes (John Smith)
Dietary Needs: Vegan
Mobility / Special Needs: N/A
Table Assignment: Table 4
Uncle Bob
Relationship Group: VIP - Family
Plus-One Status: No
Dietary Needs: N/A
Mobility / Special Needs: Wheelchair Access
Table Assignment: Table 2
Having dietary tags and mobility needs clearly listed on this master sheet ensures you don't inadvertently place a guest using a wheelchair in a tight corner, or forget to notify the catering team of a severe allergy at Table 7.
Step 2: Establish Your Venue Layout & Wedding Floor Plan Math
Before assigning individual seats, take time to understand the physical flow of your space. Ask for your venue's floor plan rather than estimating dimensions by eye, as these spatial limits shape your entire reception strategy.
Start by mapping the unmovable room anchors: the dance floor, band stage or DJ booth, bar locations, kitchen doors, and fire exits. Once these key focal points are set, you can begin placing guest tables using clear spatial guidelines to ensure the room feels balanced and easy to navigate.
Table Geometry & Guest Capacity Planning
Pushing a table past its ideal capacity compromises the guest experience, and your choice of table shapes directly affects guest interaction and room flow. Use these standard guidelines to ensure your guests are comfortable and your floral arrangements have room to breathe:
60-Inch Round Tables: Ideal for 8 guests (fits up to 10 max). This is the most common size for wedding receptions, offering classic proportions and easy conversation.
72-Inch Round Tables: Ideal for 10 guests (fits up to 12 max). Perfect for larger guest counts, though wider centerpieces are needed to fill the middle space.
6-Foot Rectangular Banquet Tables: Fits 6 to 8 guests. Great for family-style dining or creating long, dramatic continuous estate tables.
8-Foot Rectangular Banquet Tables: Fits 8 to 10 guests. Offers generous length for lush greenery runs or continuous candle displays.
Spacing & Clearance Rules for Service & Guest Traffic
A visually cohesive floor plan must be as functional as it is beautiful. To keep your reception room open, safe, and comfortable, rely on these exact spatial guidelines for your seating arrangements:
Between Tables (60 inches minimum): Maintaining 5 feet between tables leaves ample room for pulled-out chairs while giving catering staff a wide, safe aisle for service.
Behind Chairs (24 inches): This gives your guests enough clearance to pull their seats in and out without bumping into neighbors.
Perimeter Clearance (36 inches minimum): Keeping a 3-foot buffer from outer walls ensures compliance with venue fire codes and keeps pathways clear. Always double-check specific requirements with your venue team.
Dance Floor & Sound Buffer (10 feet): Leaving 10 feet of space between dinner tables and loud DJ speakers keeps the reception room atmosphere relaxed for seated guests.
Accessible Pathways: Ensure clear, wide paths are mapped out so guests using wheelchairs or mobility aids can move effortlessly through all seating arrangements.
Step 3: Head Table Configurations: Who Sits at the Head Table of a Wedding?
Deciding who sits at the head table depends entirely on your wedding venue footprint, wedding party size, and family dynamics. Here is a breakdown of the four primary configurations to consider for your event design:
Sweetheart Table: A small, standalone table designed for just the couple.
Pros: Intimate, guarantees one-on-one time, eliminates bridal party seating logistics, and offers a quiet anchor in a busy room.
Cons: Can occasionally feel slightly isolated from the main party energy.
Traditional Head Table: The couple and the wedding party sit at a long, one-sided banquet table, all facing outward toward the guests; traditionally, the groom sits to the bride's right.
Pros: Visually striking for wedding photos and formal toasts.
Cons: It separates wedding party members from their romantic partners. (Design guidance: We strongly advise against separating dates to ensure a better guest experience.)
King's Table / Royal Table: A large, double-sided rectangular table that seats the couple, the wedding party, and all of their romantic partners.
Pros: Highly inclusive and creates a warm, communal dinner-party atmosphere.
Cons: Requires a significant amount of floor space to execute well.
Family VIP Table: The couple sits at a larger round or rectangular table with immediate family members, prioritizing parents, grandparents, and siblings.
Pros: Honored placement for your closest family.
Cons: Requires careful thought if you prefer giving parents their own dedicated host tables to better suit family dynamics.
Step 4: Strategic Guest Categorization
Looking at an unorganized list of 150 names can stall your planning momentum. Simplify the process of deciding who sits where by using a practical 5-Tier Guest Grouping System to group guests before assigning tables. This approach categorizes your master list before you assign a single table, utilizing the "Relationship Group" column from the spreadsheet we suggested earlier:
Tier 1 (VIPs): Immediate family, including parents, grandparents, siblings, and the wedding party. Place these highest-priority wedding guests closest to the couple with clear, unobstructed lines of sight for toasts and formal dances.
Tier 2 (Immediate & Extended Family): Aunts, uncles, and first cousins.
Tier 3 (Shared Social Networks): High school friends, college crews, and shared hobby groups. These naturally form your energetic, high-volume tables.
Tier 4 (Extended Network): Coworkers, family acquaintances, and more distant friends.
Tier 5 (Special Consideration): Families with young children, elderly guests who appreciate quieter spaces, or guests requiring mobility assistance.
Group your guests before assigning seats to turn a daunting puzzle into a modular process. Moving cohesive groups of friends and family together feels far simpler than playing musical chairs with individual names. It also gives you total control over the energy of the room, keeping guest dynamics light, comfortable, and memorable.
Step 5: Wedding Seating Chart Etiquette & Navigating Complex Social Dynamics
Even the most meticulously crafted spreadsheet cannot account for human nuance. Navigating wedding seating chart etiquette requires equal parts compassion and strategy to ensure every single guest feels genuinely cared for and celebrated.
Divorced or Remarried Parents
Handling seating for divorced parents requires extra care and compassion. A standard, composed approach is to create a dedicated family table for each parent, positioned equidistant from the main head table. Surround each parent with their respective extended family or close friends so everyone enjoys a warm, supportive dining experience.
The 3 Rules of Diplomatic Parent Seating:
Provide Space: Avoid forcing ex-partners with underlying tension to share a single table.
Honor Spouses: Treat new partners with respect by seating them alongside their spouses.
Communicate Early: Share the seating arrangements with both parents privately before the wedding day to manage expectations calmly and avoid day-of surprises.
Single Guests & Plus-Ones
Avoid the dreaded singles table, which often feels forced and uncomfortable. Instead, seamlessly integrate unattached guests into tables with familiar friend networks, shared age groups, or similar interests.
If you have plus-ones who do not know the wider group, seat them next to your most conversational, welcoming friends. This small, intentional gesture helps them settle in naturally and enjoy the evening.
Elderly Guests, Children, & Vendor Seating Rules
Spatial placement is a crucial aspect of seating etiquette that directly impacts guest enjoyment and safety within the reception room.
Elderly Guests: Position older relatives away from high-traffic bar areas and loud subwoofers. Ensure they have clear lines of sight to the main table for speeches, with easy, unimpeded access to restrooms and exits.
Children: Place families with small children near room exits so parents can step out discreetly if a toddler grows restless. Young children should always sit directly with their parents. If you opt for a kids table for older children, keep it positioned right next to their parents rather than across the room.
Vendors: Your photographer, DJ, and planning team need sustained energy to execute your day beautifully. Set up a dedicated vendor table near the catering service area, and coordinate their dietary restrictions in advance. This keeps your team close to the action while giving them a comfortable space to eat without interrupting guest photos.
Step 6: How to Make a Wedding Seating Chart: 3 Methods Compared
Once your social groups are sorted, it is time to map your seating arrangements using a tool that fits your workflow. When deciding how to bring your wedding seating chart to life, couples generally rely on one of three distinct approaches:
Method 1: Digital Seating Software (Highly Recommended)
Best For: Precision and seamless collaboration.
Pros: Auto-syncs with your guest list, enforces room scale, and makes adjustments effortless as RSVPs change. Many tools let you manage individual seats, test room layouts, and export clean PDFs directly for caterers.
Cons: Requires a short learning curve for non-tech users.
Method 2: Index Cards & Sticky Tabs
Best For: Tactile, hands-on brainstorming.
Pros: A highly visual, low-tech option where you can easily swap colored post-it flags between index card tables.
Cons: Difficult to share with an off-site planning team and requires manual data entry later to update your digital records.
Method 3: Master Spreadsheet Grid
Best For: Simple, budget DIY planning.
Pros: Completely free, universally accessible, and easy to set up using basic cell mapping.
Cons: Prone to version-control errors and makes it challenging to visualize actual spatial flow in the room.
Some couples also like that digital tools let them test layouts in just a few clicks and sometimes start a draft without having to create account.
Step 7: Display Options: Wedding Seating Chart Board vs. Escort Cards vs. Place Cards
As your wedding day approaches, you will need to choose how to direct guests to their seats. These signage and paper details serve as key touchpoints in your design, so understanding the distinction between them is essential for a cohesive welcome experience:
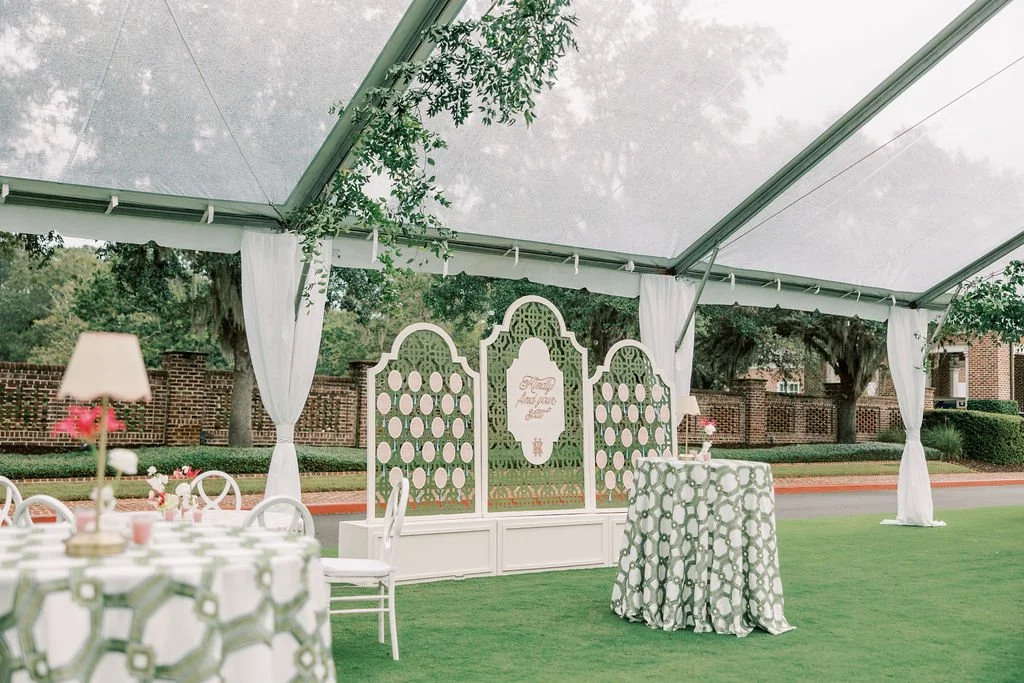
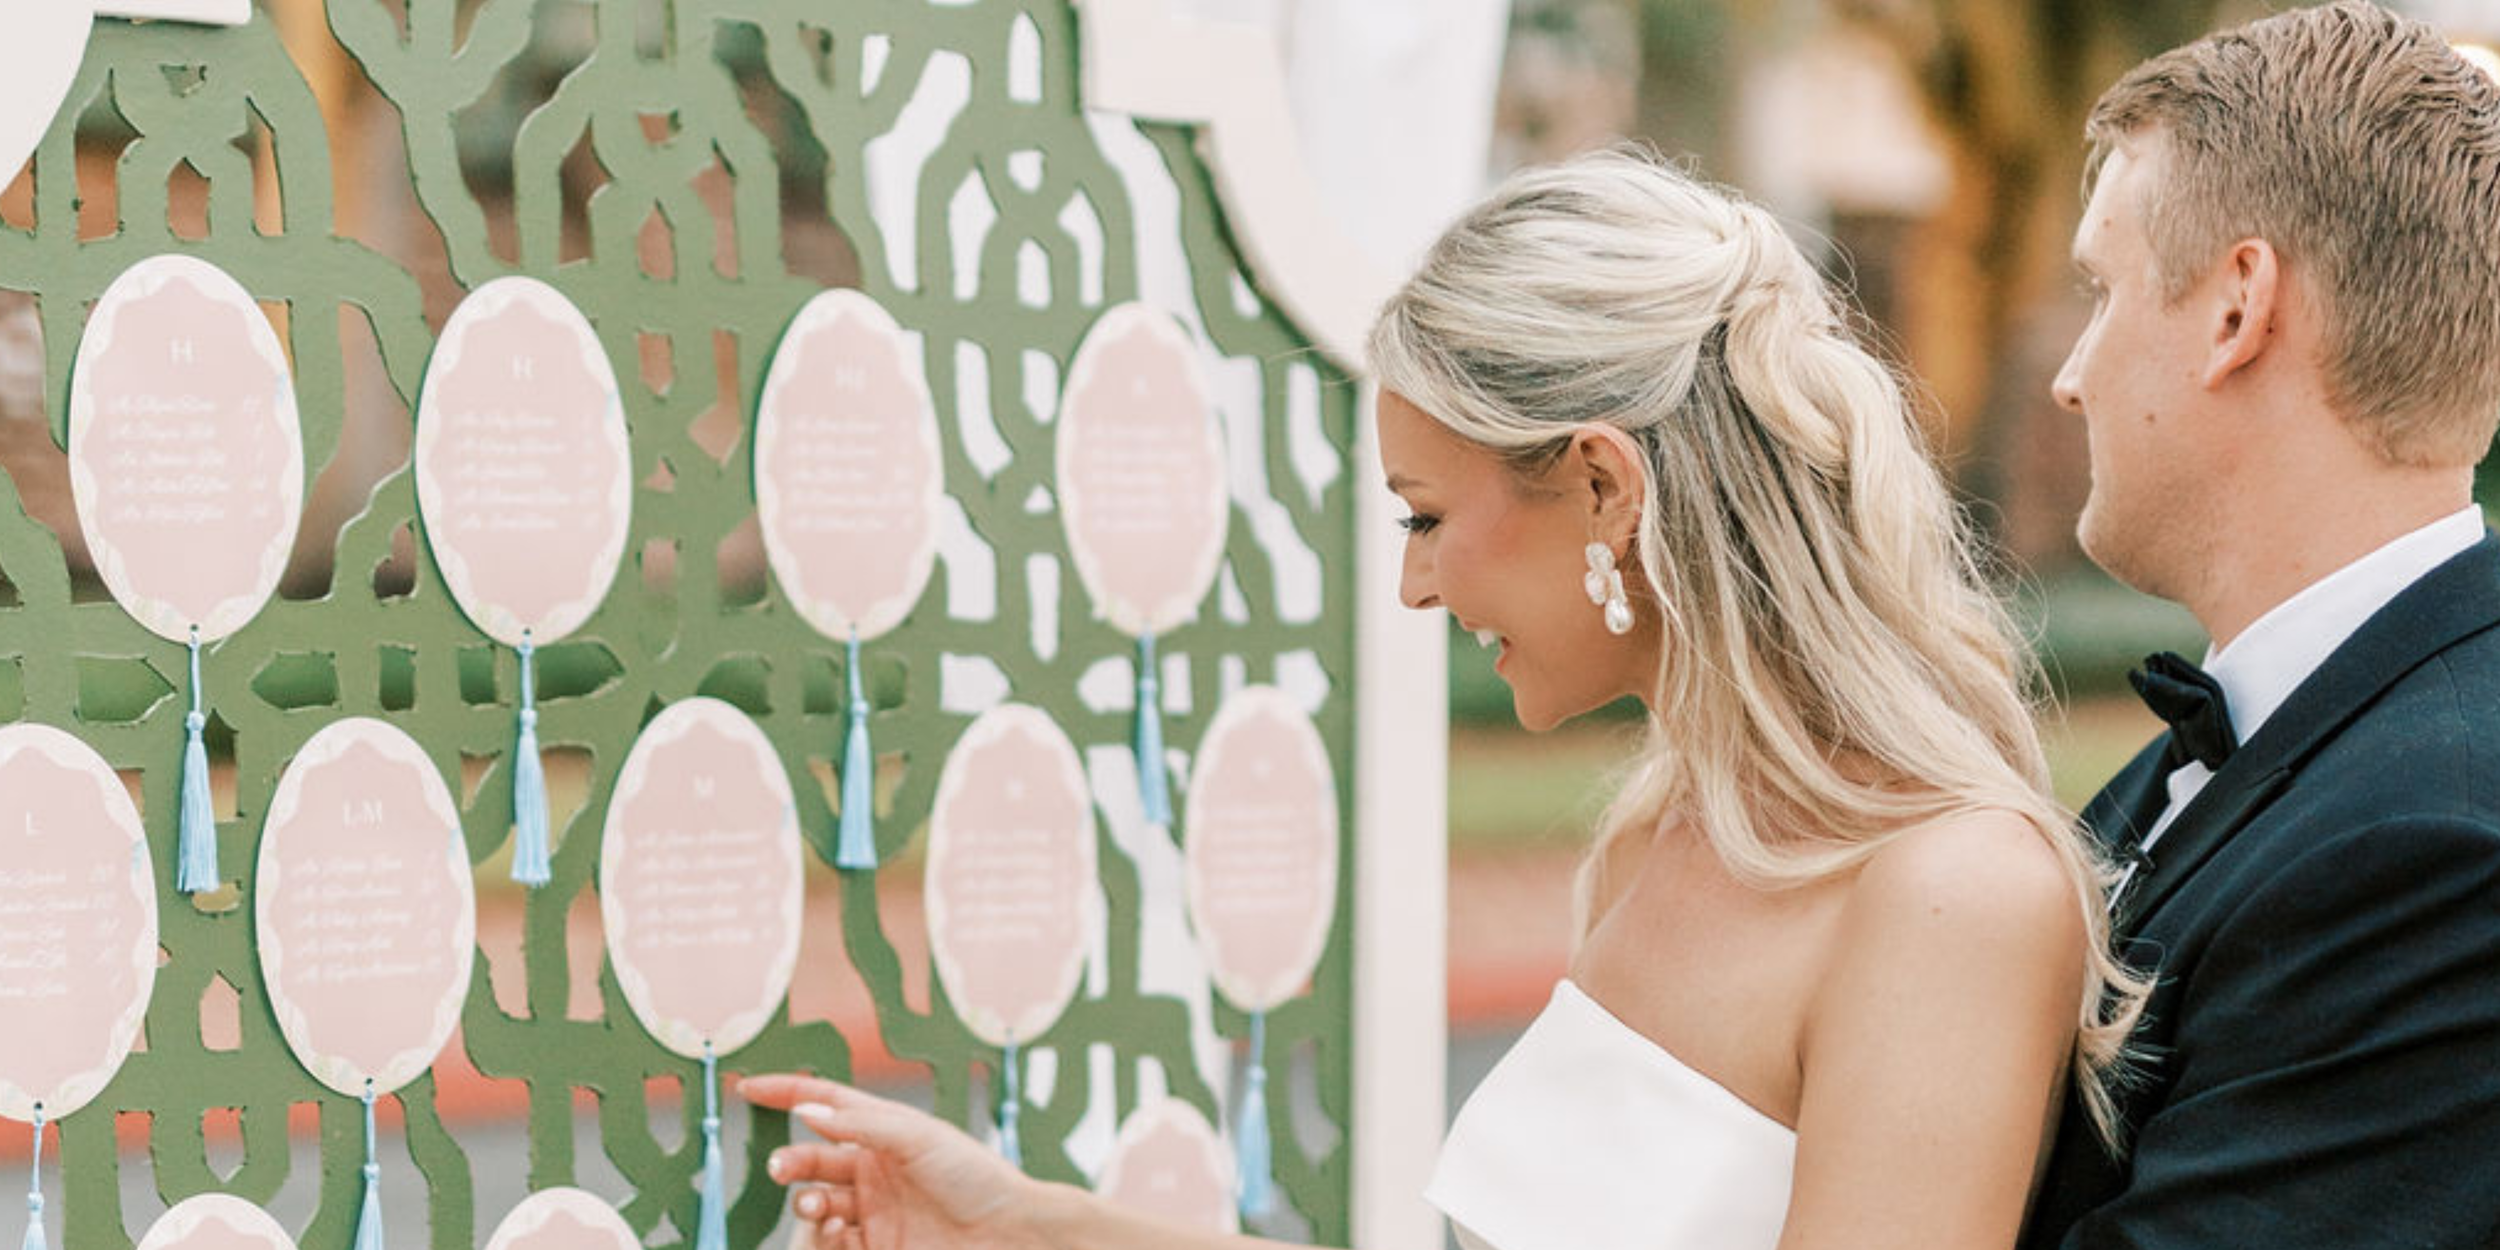
Wedding Seating Chart Board: A single statement display (often a beautifully printed board, framed mirror, or custom architectural install) stationed at the reception entrance. It lists every guest alongside their assigned table number. Arranging names alphabetically rather than by table helps guests find their spot in seconds while creating an elegant focal point.
Escort Cards: Individual physical cards displayed near the entrance, each directing a guest to their assigned table. These add an interactive, tactile touch to your entryway and give you the flexibility to easily swap last-minute table assignments behind the scenes.
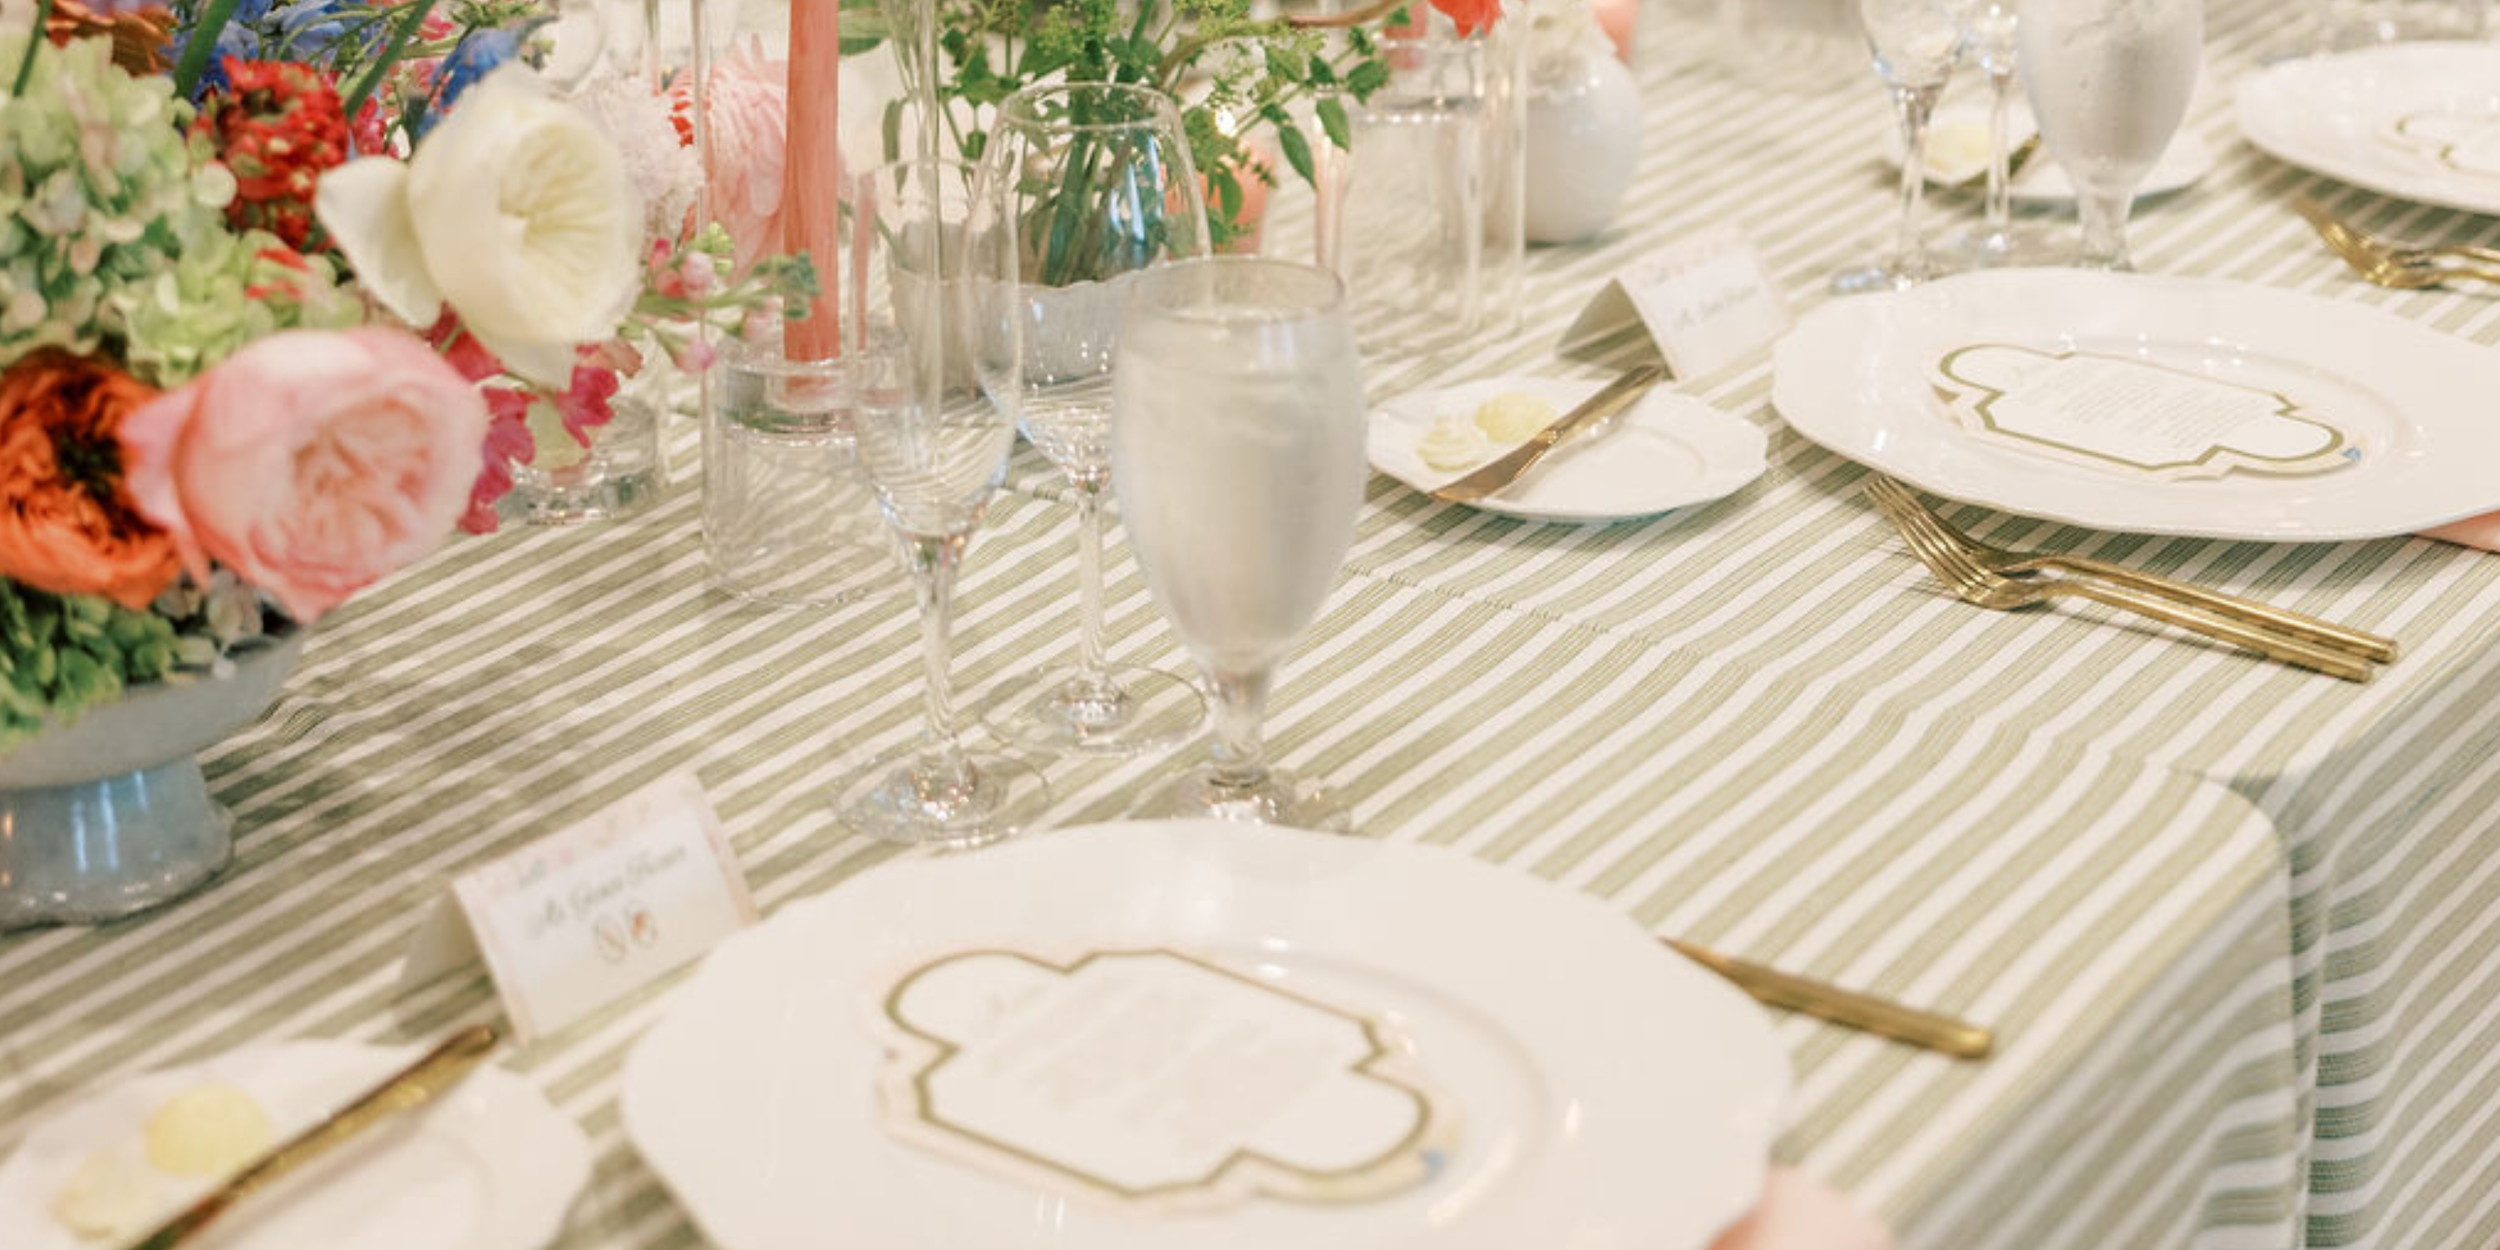
Place Cards: Individual cards set directly at each plate, assigning exact seats at the table. These are not standalone alternatives to a board or escort cards. Instead, they are used alongside them to elevate your table styling, making them essential for plated dinners so waitstaff know precisely where to serve each entrée.
Choosing a Day-Of Signage Designer
When designing a custom seating display for your celebration, we prioritize the guest experience just as much as high-end aesthetics. Rather than relying on rigid templates, our studio crafts bespoke focal installations that elevate your overall aesthetic while ensuring your reception entrance flows effortlessly, with a stunning focal point for guest phot
For celebrations with over 100 guests, we thoughtfully arrange seating displays alphabetically by last name rather than by table number. Sorting numerically forces guests to scan every line just to find their names, creating unnecessary bottlenecks at the doorway. Alphabetical organization also helps all your guests move through the entrance faster during cocktail hour. By pairing intentional spatial layout and precise typography with custom fabrication, we ensure your day-of signage serves as a stunning visual anchor that welcomes your guests quickly, comfortably, and beautifully into your space.
Step 8: Finalizing, Printing, and Day-Of Execution Checklist
To ensure a smooth transition into your wedding week, adhere to a clear production timeline. Assuming your signage or stationery design is already underway, the two-week mark is typically your hard deadline to submit final data:
2 Weeks Out (Lock the Floor Plan): Send your finalized dietary matrix to the caterer. Submit your final guest list names and table assignments to your stationery designer so they can push your seating display into production.
1 Week Out (Verify): Review your final printed place cards or escort cards. Double-check that you have maintained 1 to 2 empty buffer seats across the floor plan to accommodate last-minute shifts.
Day Before (Handoff): Hand all printed materials and floor plan diagrams to your venue coordinator or wedding planner. Providing a scaled printout on poster board helps the setup team reference the venue layout quickly and position every element with precision.
Frequently Asked Questions About Wedding Seating Charts
When should I start creating my wedding seating chart?
You should begin mapping your physical floor plan six to eight weeks before the wedding, but only after receiving at least 90% of your RSVPs. Starting any earlier usually leads to constant, stressful revisions as late responses roll in.
Do I really need a seating chart, or can I have open seating?
For events with over 50 guests, a wedding seating chart is strongly recommended. Unassigned open seating during the reception often leads to a rushed feeling as guests hurry to claim spots. It can inadvertently separate families and leaves awkward empty seats scattered throughout the reception room, making the dining experience feel disjointed rather than intentional.
Should seating chart boards be listed alphabetically or by table number?
For any guest list exceeding 100 people, the board is best sorted alphabetically by last name. This user-friendly, editorial approach allows guests to find their names in seconds and prevents unnecessary traffic jams at the reception entrance.
What if someone brings an unexpected plus-one on the wedding day?
This is exactly where your buffer seats provide peace of mind. Notify your venue coordinator quietly; they will utilize the planned empty seats and coordinate a spare meal with the catering captain behind the scenes.
Do I need both escort cards and place cards?
Not always. Escort cards guide guests to their designated tables from the reception entrance, while place cards indicate exact individual seats.
Place cards are essential if you want to assign specific chairs or if you are hosting a plated dinner, as they allow waitstaff to deliver precise meal choices and accommodate dietary restrictions effortlessly. If you are serving a buffet or family-style meal, escort cards paired with a well-designed wedding seating chart are usually all you need.
Final Thoughts: Stress-Free Seating for Your Big Day
Organizing a seating chart can initially feel like a daunting logistical hurdle, but remember that your guests are attending to celebrate your love, not to critique their table placement. By utilizing a clear categorization system, respecting the physical space of your venue, and navigating family dynamics thoughtfully, you can finalize your floor plan with total confidence.
Take it one step at a time, rely on the data in your master guest list, and remember that you do not have to navigate the execution alone. Our team is always here to translate your final numbers into elevated, beautifully styled seating charts and custom escort displays. We take the stress out of production, printing, and installation so you can trust that these careful decisions will result in a seamlessly executed, welcoming experience for everyone in the room.