Wedding Invitation Etiquette: A Designer’s Modern Guide
By Harita Kapur
Last updated: September 18, 2026
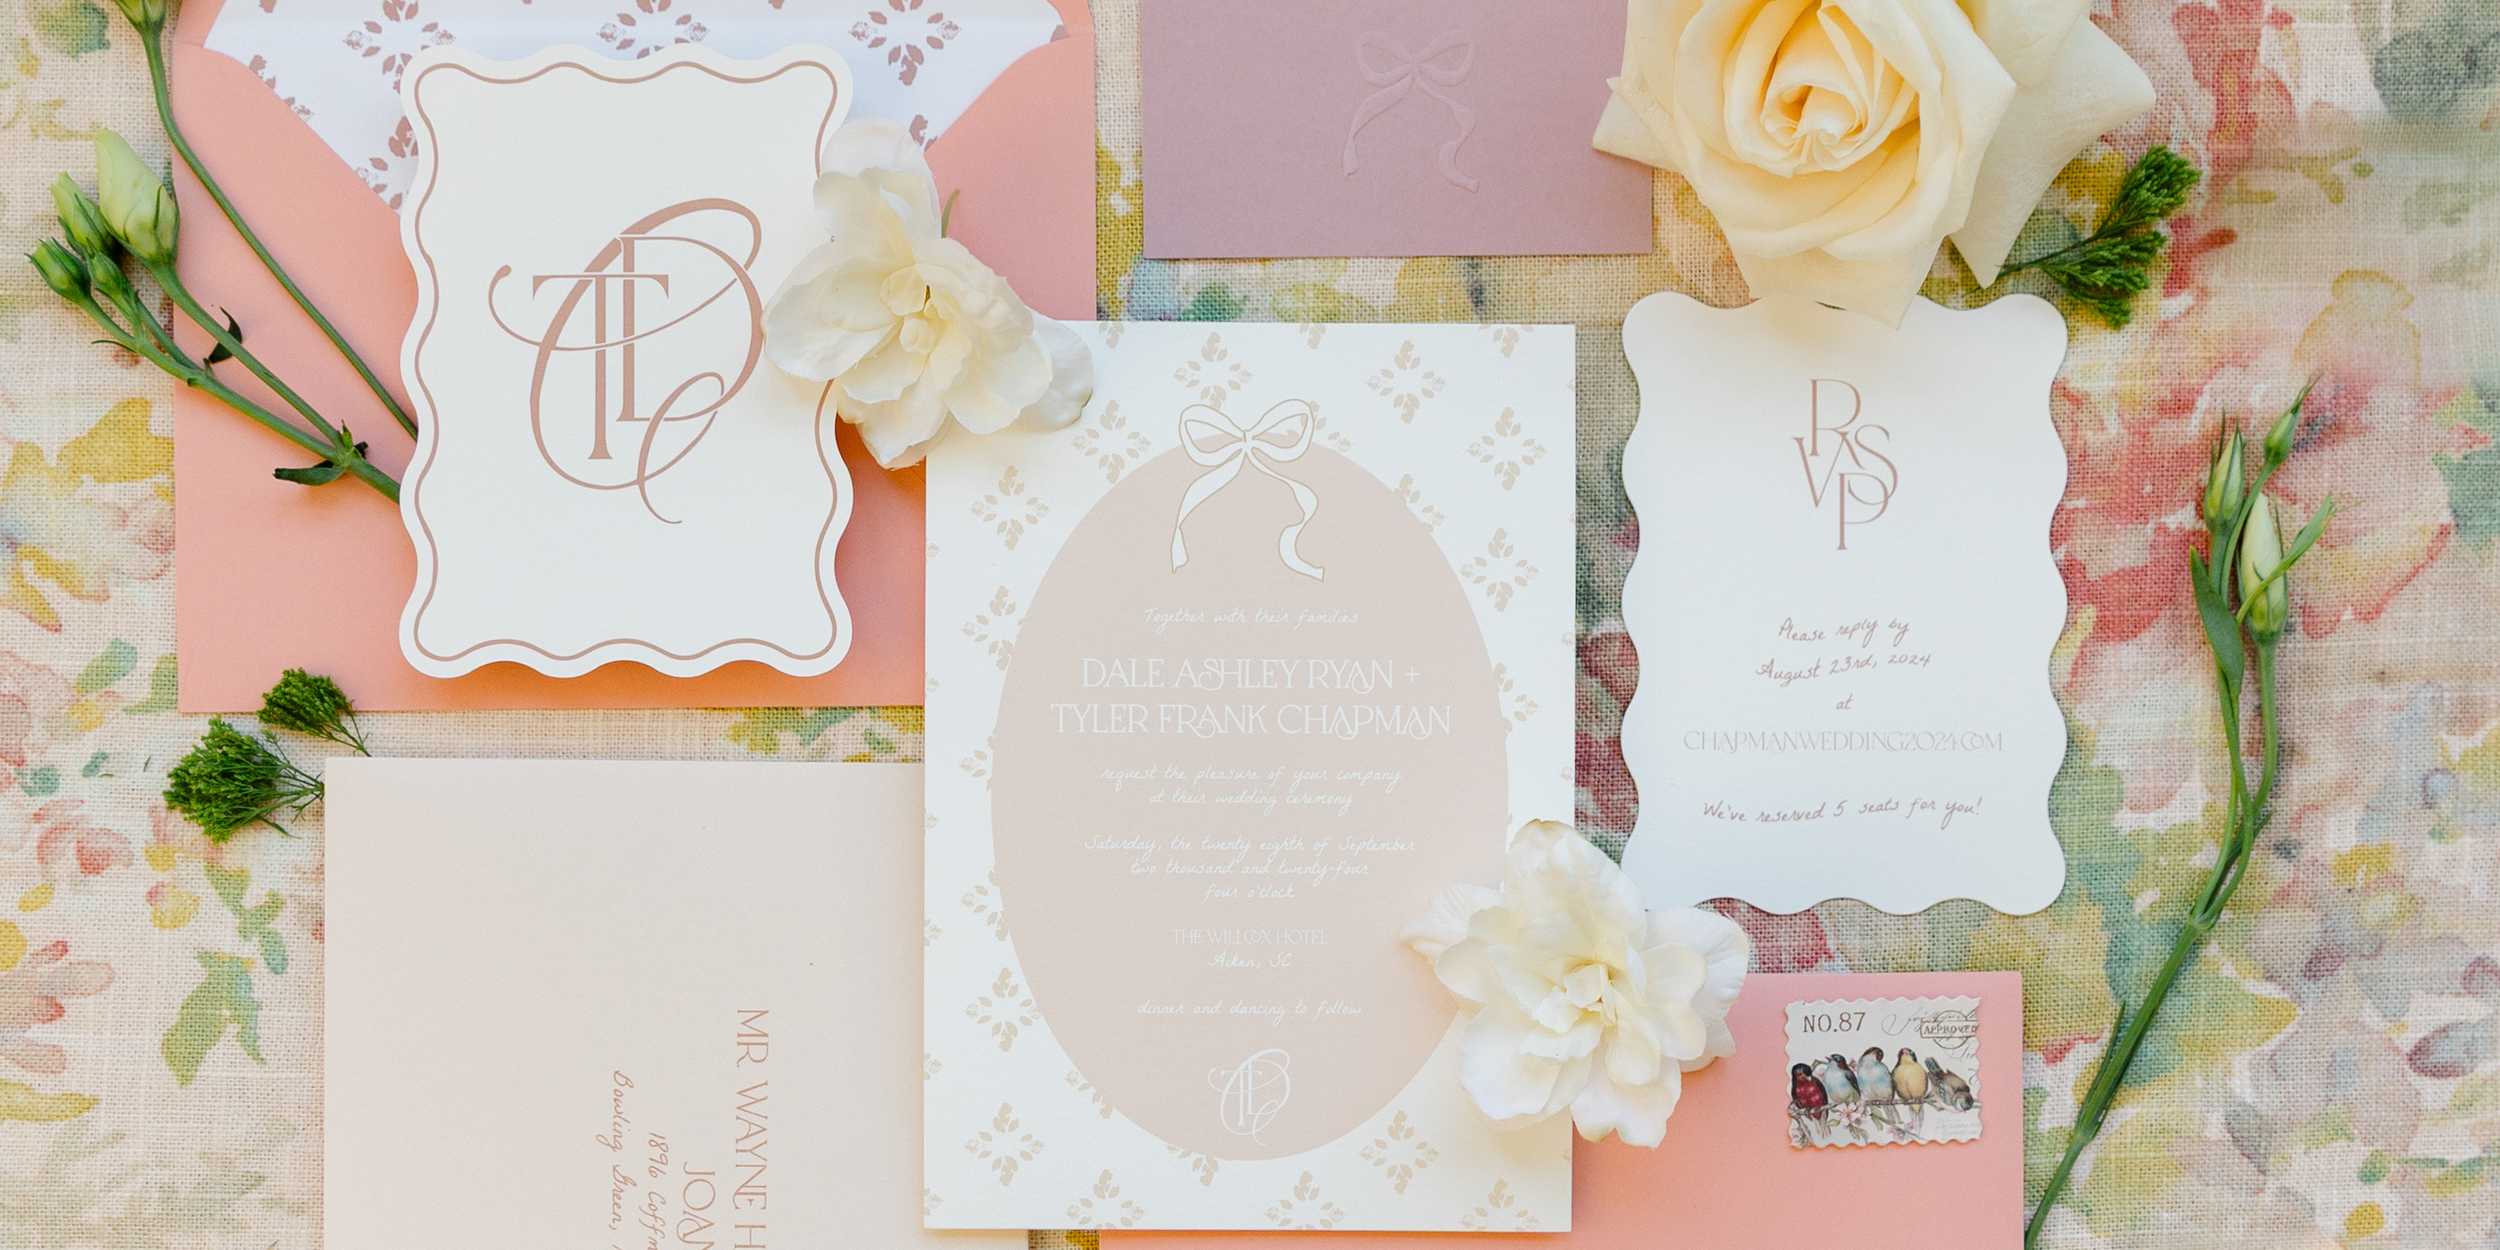
Far more than a preview of your wedding day, a custom invitation suite sets the visual and emotional tone long before your date arrives. It is the first tangible piece of your event guests hold in their hands, signaling the aesthetic, feel, and level of care behind your celebration from the moment it lands in their mailbox.
At Hartsy Designs, Founder & Creative Director Harita approaches stationery as both a fine-art craft and a practical tool for guest experience. Having guided couples through luxury Lowcountry weddings and celebrations across the Southeast for years, Harita views etiquette not as a set of stiff, outdated rules, but as a helpful design framework. True etiquette is simple: it creates a clear, seamless experience that makes your guests feel welcome, informed, and genuinely cared for.
When you invest in custom stationery, the details go beyond basic wording. Real quality lives in the timeline of artisan production, the weight of heavy cotton paper, and the practical steps needed to mail custom pieces safely. This guide covers the essential etiquette details, modern guest expectations, and practical tips you need to create a beautiful, cohesive suite.
Wedding Invitation Timeline: When to Design, Mail, and Collect RSVPs
Creating a custom invitation suite takes time, especially when using traditional printing methods. Unlike quick digital printing, hand-operated presses, custom paper sourcing, and specialized details require a thoughtful production timeline. Good etiquette is ultimately about giving your guests plenty of time to plan, which starts by giving your designer the space to build your suite with care.
Booking Custom Stationery: Factoring in Production Lead Time
One of the most common planning missteps happens long before envelopes are ever addressed: underestimating how long custom production takes. When your vision includes letterpress, foil stamping, or sculpted embossing, you are commissioning hand-crafted work. These traditional print methods require custom metal plates, hand-mixed inks, and precise press runs where paper is fed one sheet at a time.
To keep the process stress-free and avoid rush fees or material delays, we recommend booking your stationery designer 7 to 12 months before your wedding date. This timeline gives us plenty of room to move smoothly through our core three-step process at Hartsy Designs: Discovery, Design (including proofing and refinements), and Production & Delivery.
When should you send save the dates?
Save the dates should be mailed 6 to 8 months before your wedding, and for a destination wedding, holiday weekend, or multi-day celebration, etiquette dictates sending them 8 to 12 months in advance to give guests time to make travel arrangements.
While formal invitations require finalized logistical details, save the dates serve as the preliminary anchor for your guests' calendars. In the realm of custom stationery, this piece is often the very first tactile glimpse your loved ones receive of your overarching event aesthetic. Because save the dates are typically mailed out during the "Discovery" and initial "Design" phases of your broader invitation suite, securing your stationer early ensures this initial touchpoint is beautifully cohesive with the final invitation they will receive months later.
When should you send wedding invitations?
You should mail standard wedding invitations 6 to 8 weeks before the wedding date. For destination weddings, or if you are hosting a large number of out of town guests who require extensive travel and hotel accommodations, a formal invitation should go out earlier, with the polite etiquette standard being to mail your suites 10 to 12 weeks in advance.
Sending them any earlier than 12 weeks risks guests misplacing the suite or setting it aside and forgetting to reply. Sending them later than 6 weeks rushes their ability to plan accommodations, which is considered poor hosting etiquette. This timeframe helps your invite arrive when guests can plan appropriately without losing track of the suite, while still giving them enough time to clear their schedules, arrange for babysitters, and select attire without the event feeling so far away that they lose track of the RSVP deadline.
For more information on invitation timing, read our full blog post here.
When should the RSVP deadline be?
Whether guests are mailing back a card or following your RSVP instructions online, your deadline should be set 3 to 4 weeks prior to the wedding date. This timeline provides a comfortable buffer to confirm the final guest count, follow up with late responders, and submit accurate dietary restrictions to your caterer and venue before day-of materials are produced.
From a design perspective, this 3-to-4-week buffer is an absolute necessity. It ensures you have the exact, finalized guest list before we begin designing, printing, and fabricating your day-of seating chart, escort card displays, and personalized menus. Missing this deadline may compromise the timeline for your cohesive event branding.
The Anatomy of a Wedding Invitation (Line-by-Line)
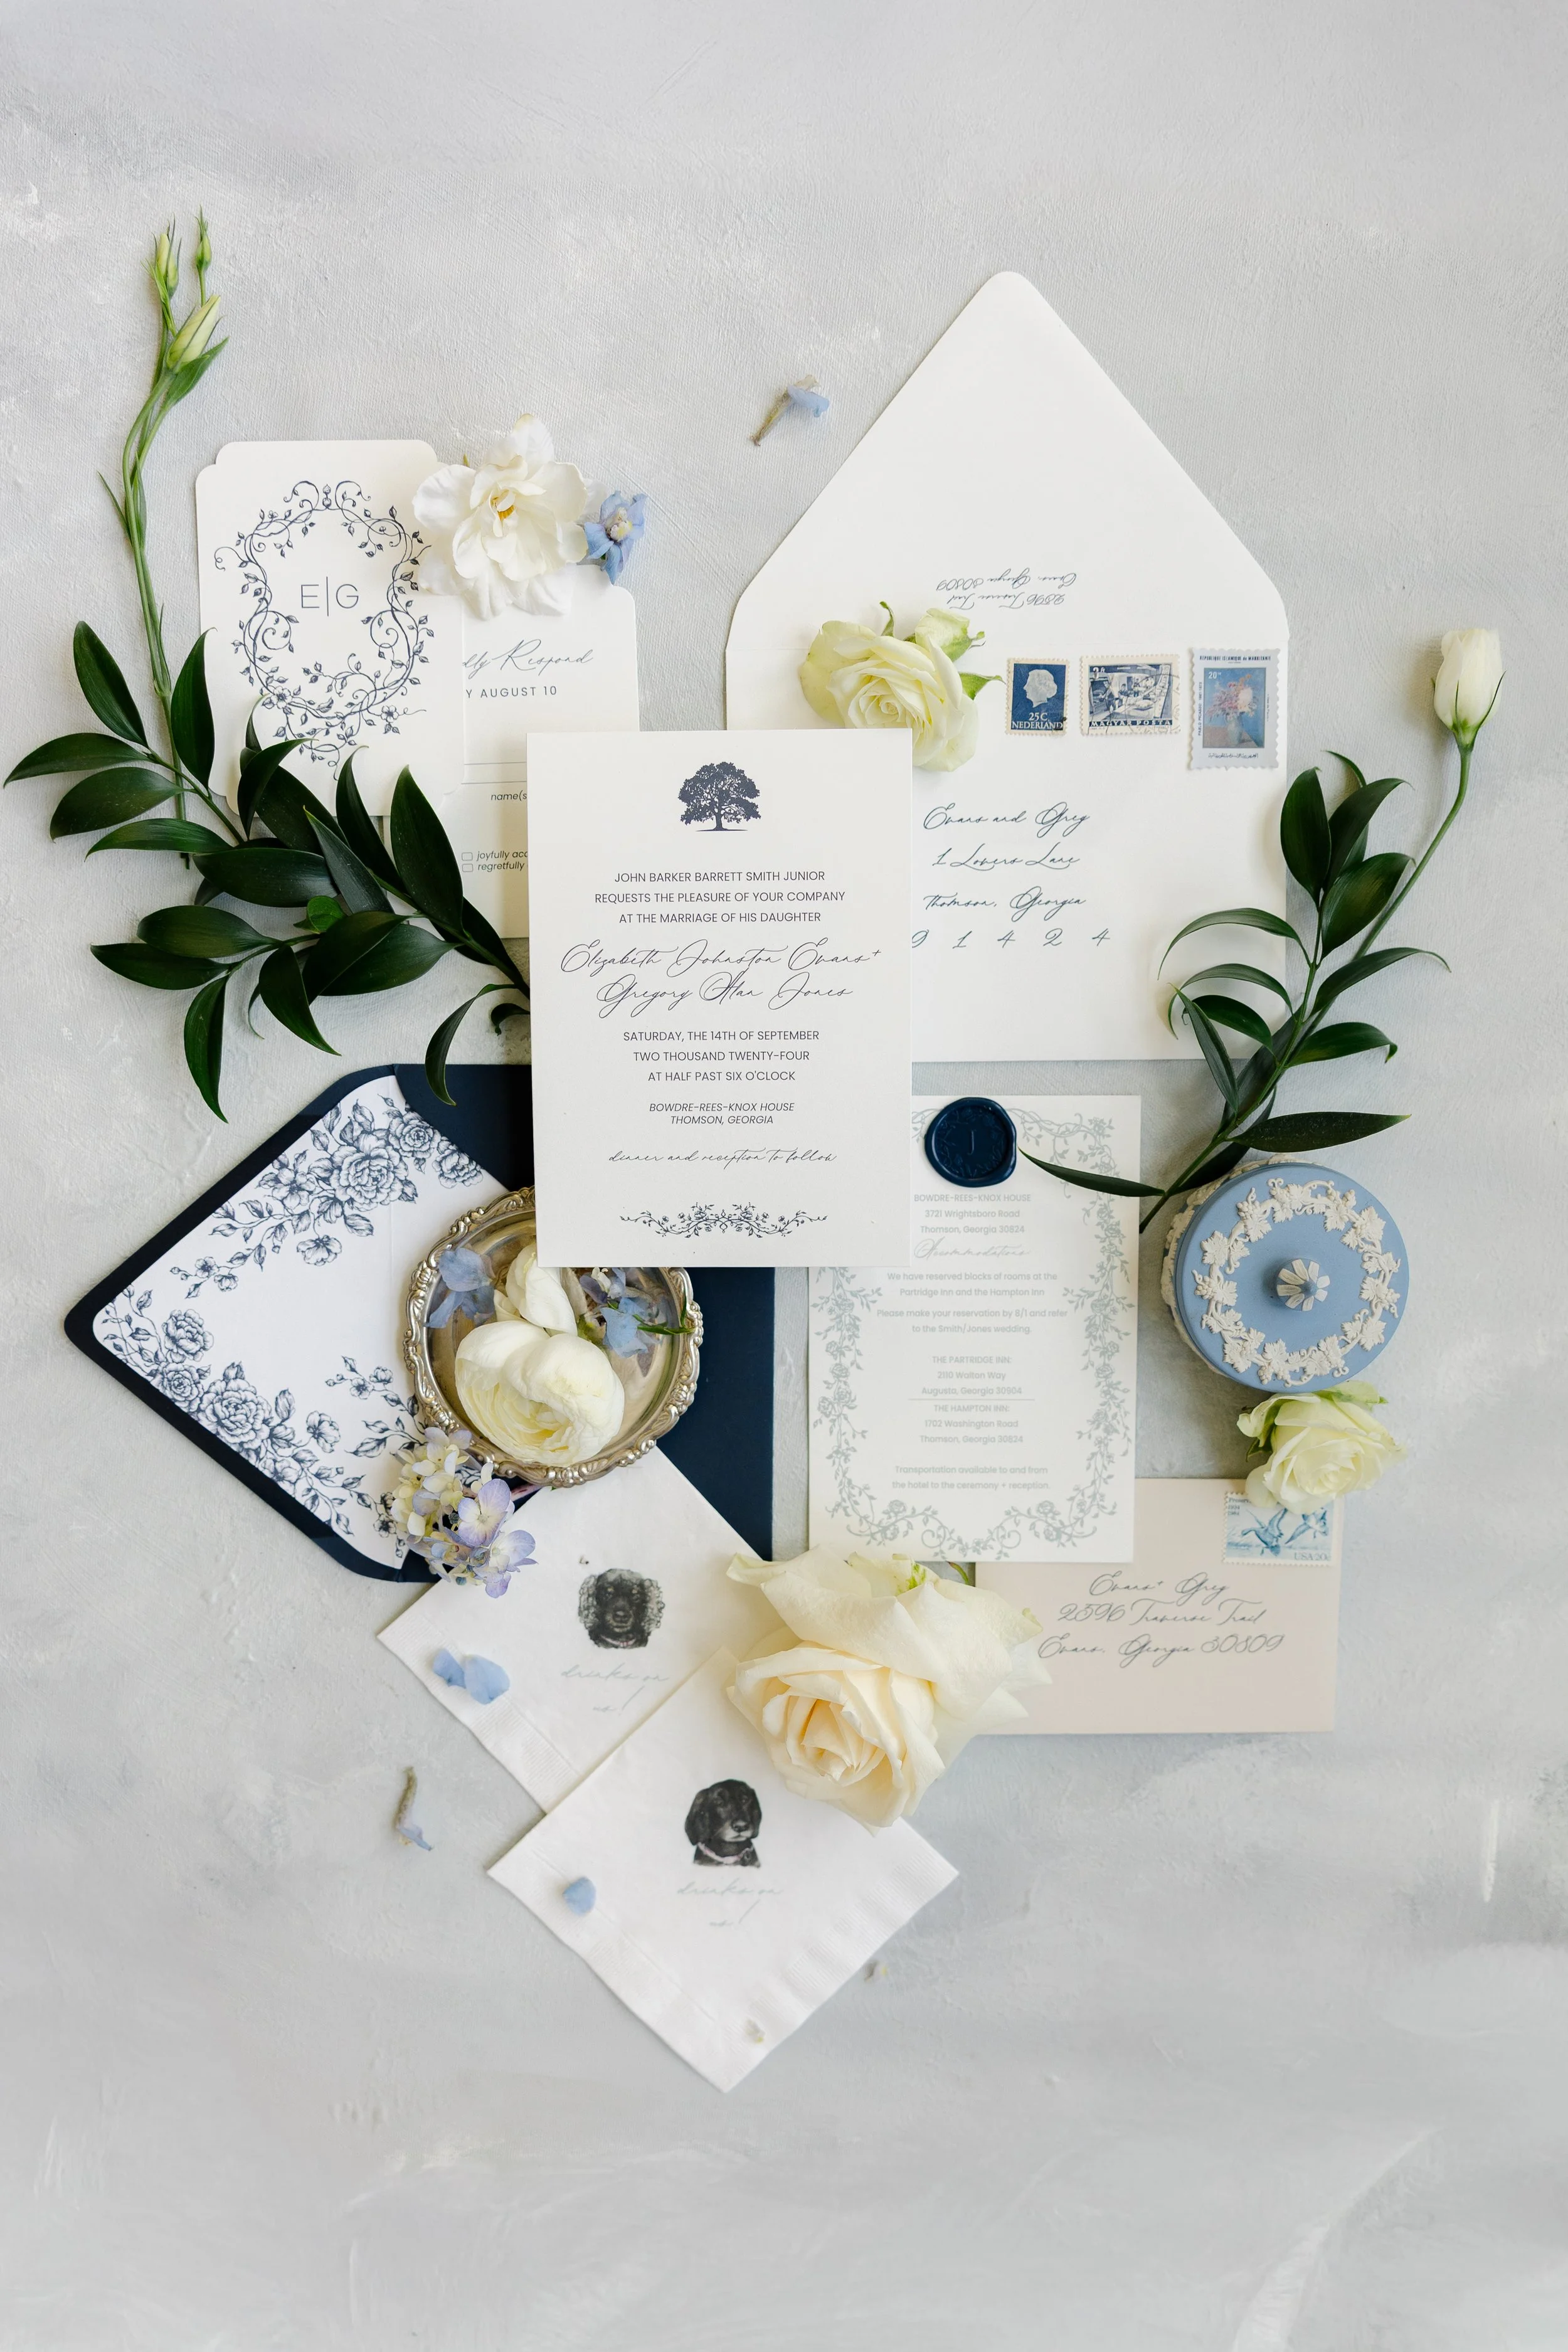
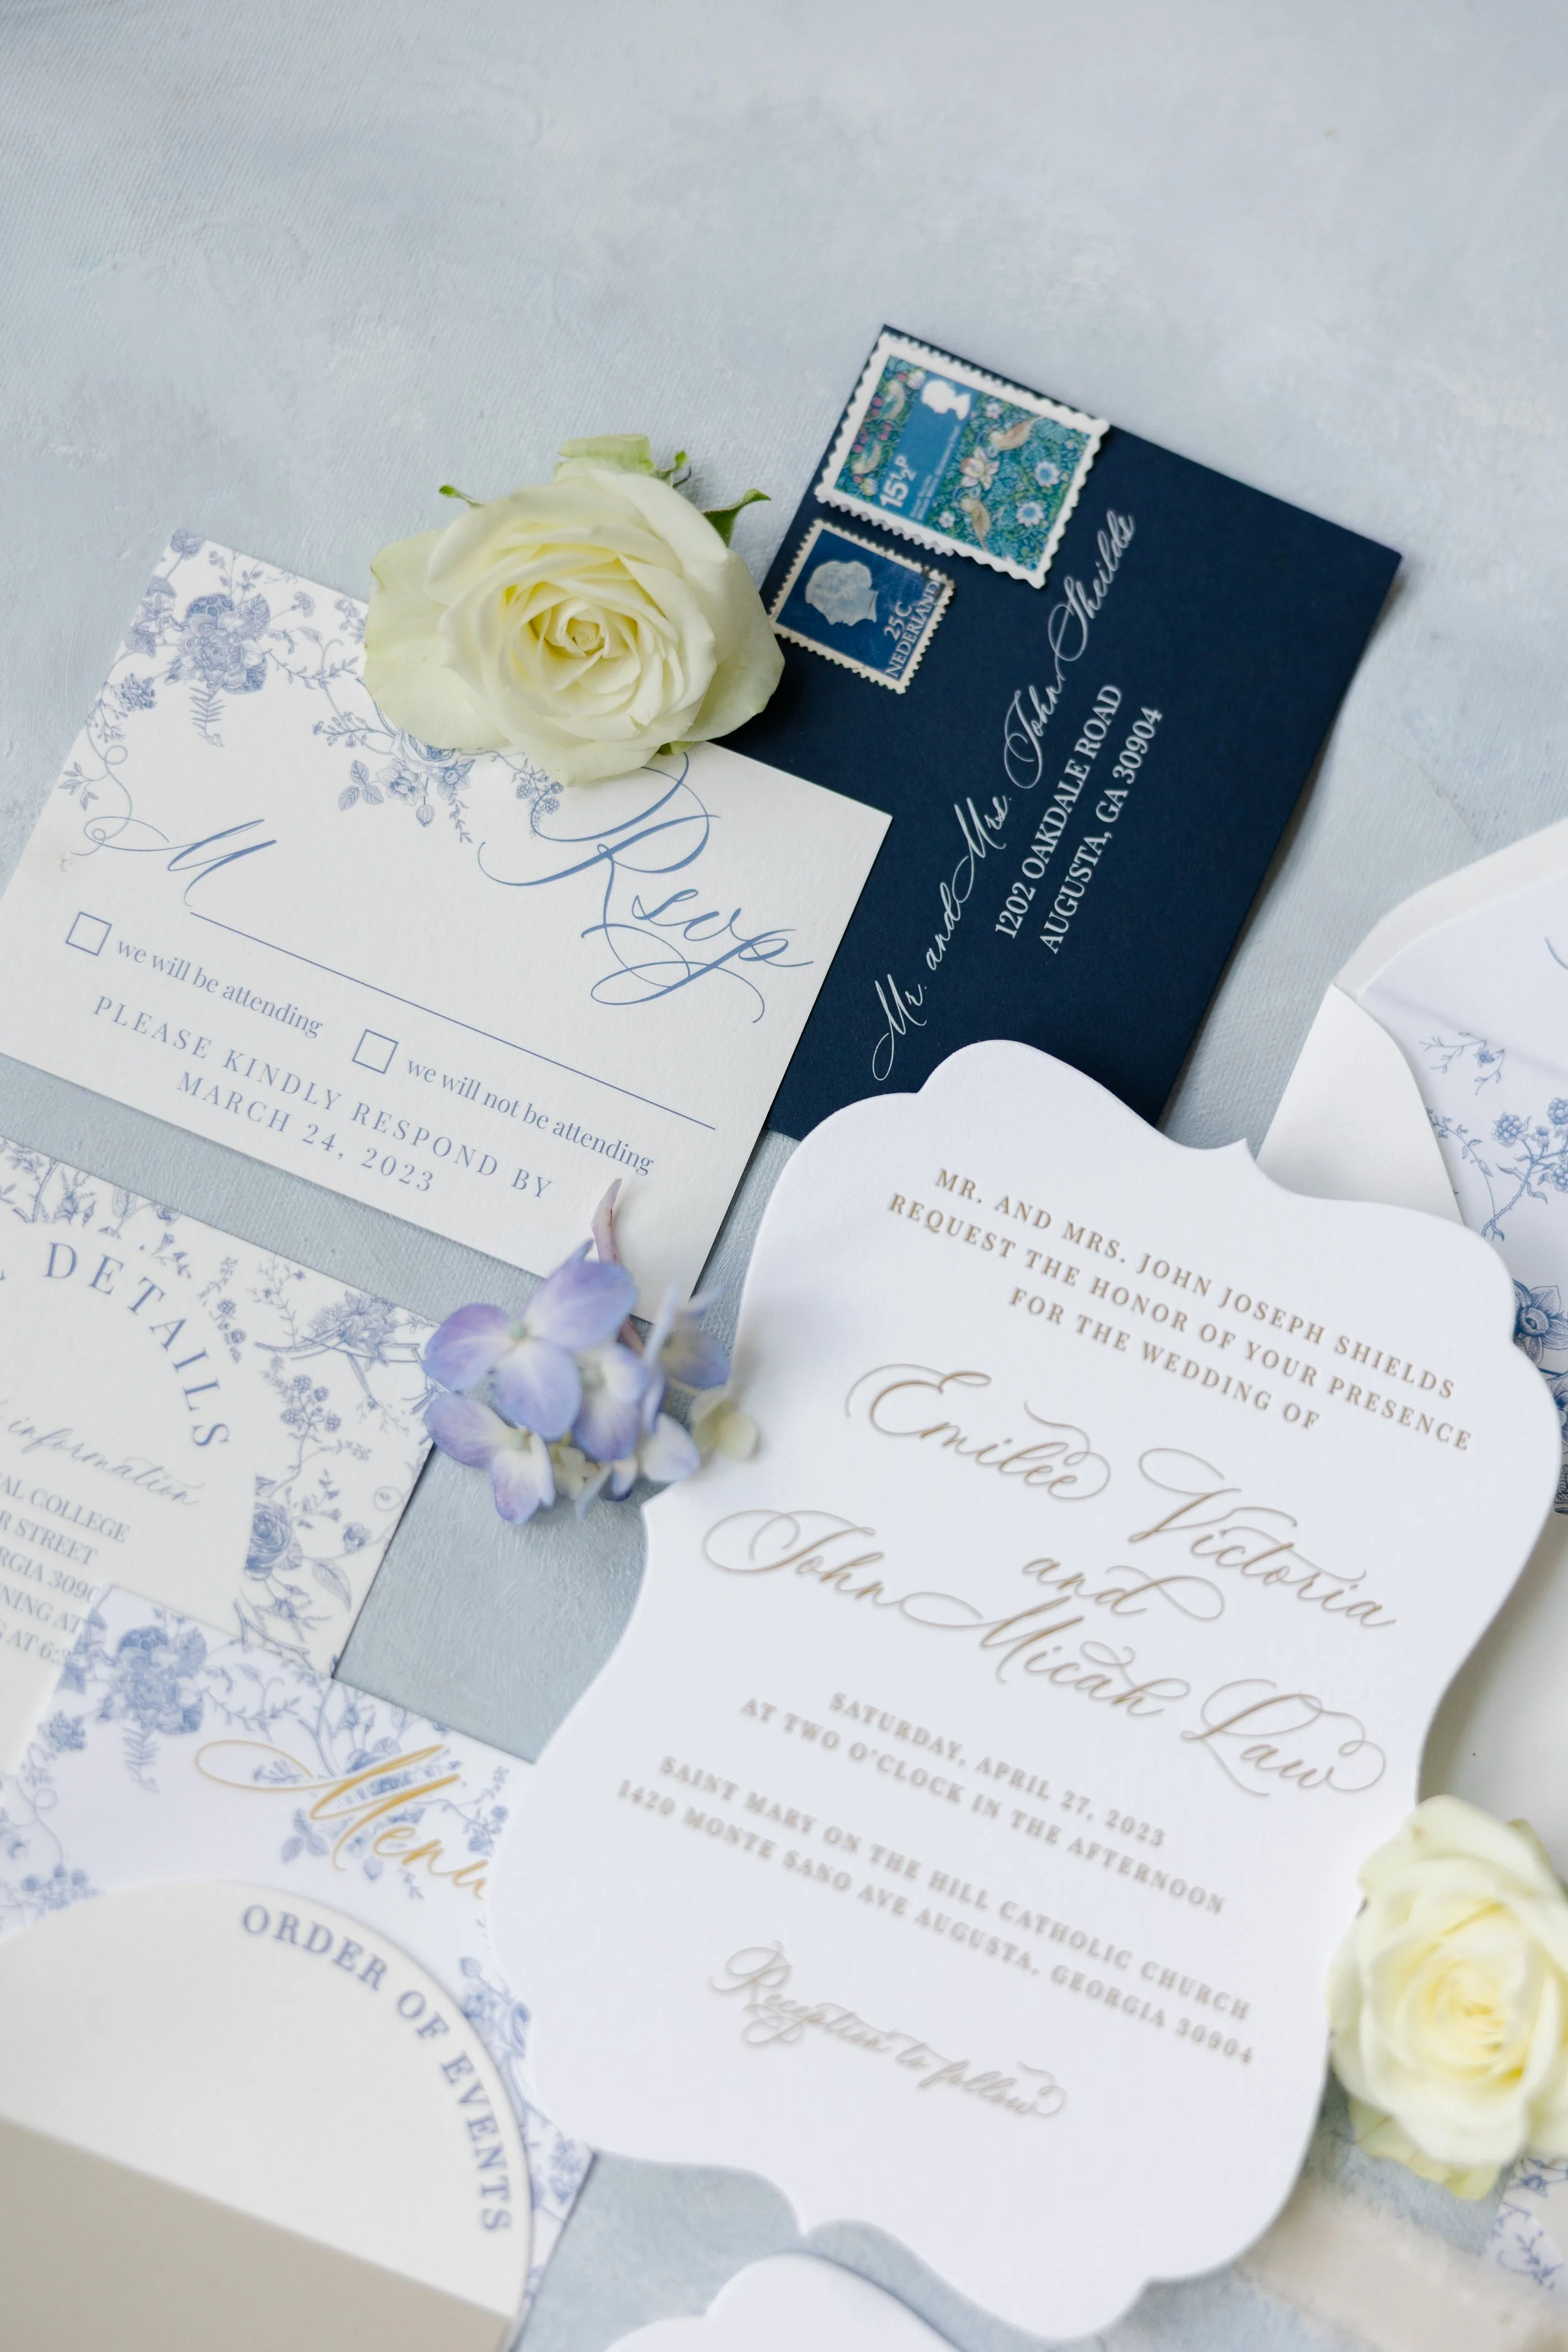
The wording on your invitation does far more than share logistics, as it sets the overall tone for your entire event. Every line serves a purpose in guiding your guests, and the layout of those words creates the visual balance of the main card.
The Host Line & The Request Line
The host line is the first line of the invitation and indicates who is hosting the celebration. The request line follows directly after, and its exact wording depends on the type of venue you have chosen for your ceremony.
Common Host Line Formats
Traditional (Bride’s Parents Hosting): "Mr. and Mrs. Thomas Hartley"
Both Families Hosting: "Mr. and Mrs. Thomas Hartley and Mr. and Mrs. David Miller"
The Couple Hosting: Leading with the couple's names first is a popular modern choice that feels balanced and personal.
Inclusive / Multiple Hosts: Phrases like "Together with their families" gracefully acknowledge everyone involved when multiple loved ones contribute.
The Request Line
Formal Religious Ceremonies: "request the honour of your presence" (traditionally using the 'u' in 'honour' for services held in a house of worship).
Secular or Private Venues: "request the pleasure of your company" (used for outdoor spaces, private estates, historic properties, or secular venues).
Whose name goes first on a wedding invitation?
Traditionally, the bride's name appears first on the invitation, followed by the groom's name. However, modern etiquette offers plenty of flexibility to fit your relationship and hosting structure. Same-sex couples often choose to list their names alphabetically, while couples hosting their own event often list both names together on equal footing.
Common Formats for Names
Bride's Parents Hosting: If her last name is already included in the host line, only her first and middle names are listed, followed by the groom's full title and name (e.g., "Eleanor Rose / to / Mr. James William Miller").
Couple or Both Families Hosting: Using "Together with their families" serves as a warm, inclusive opening line, followed by both of your full names (e.g., "Together with their families / Eleanor Rose Hartley / and / James William Miller").
Whatever format you choose, the key is using typography and spacing to keep your names as the clear focal point of the card, setting a cohesive style that matches the overall formality of your event.
Date, Time, and Location Etiquette for Wedding Invitations
While shortened dates and abbreviations might be acceptable for casual weddings, for formal events and custom stationery, they are strictly avoided. The date, year, and time should be spelled out entirely to convey the formality of the occasion. For example, rather than printing "Saturday, Oct 17, 2027 at 4:30 PM" like you might for a casual celebration, the correct etiquette is to write:
"Saturday, the seventeenth of October / two thousand twenty-six / at half after four o'clock in the afternoon." (Note: "half after" is preferred over "four-thirty").
Ensure the city and state are fully spelled out as well, avoiding postal abbreviations (e.g., use "Georgia," never "GA"). Zip codes are never included on the formal wedding invitation; they are a logistical tool reserved solely for the mailing envelopes.
Your ceremony details should also stay clear and complete on the main invitation. If you include a dress code, place that wording in the bottom right corner, using terms such as Black Tie, Cocktail Attire, or Casual, and direct guests to your wedding website for more detailed attire guidance. Even when the wording is minimal, invitation design in itself can still signal formality, whether it suggests black tie or a less formal celebration.
Reception Details & Where to Put Registry Information
If your reception is held at the exact same venue as the ceremony, a simple, elegant line at the bottom of the main invitation suffices (e.g., "Reception to follow"). If the reception is taking place at a different location, separate insert cards—the Reception Card—must be included in the suite, detailing the venue name, full address, and start time. A separate Details Card can also carry essential details that do not belong on the main invitation. Insert cards might include details like like directions, accommodations, or other extra information without crowding the main invitation.
Registry details should never be printed on the wedding invitation or any of the formal enclosure cards. Asking for gifts outright is considered a severe breach of etiquette protocol. Instead, use a beautifully designed Details Card to direct guests to your wedding website URL; these etiquette rules keep the main suite clean and appropriate. There, registry links can be discreetly housed alongside travel details and hotel room blocks, while word of mouth through family and bridal parties still remains a polite, standard way to share registry information.
Navigating Guest Constraints: Plus-Ones, Adults-Only, and Proper Etiquette
Setting boundaries elegantly is a hallmark of good etiquette. The most common anxieties couples face when designing their stationery involve communicating who is—and who is not—invited without causing offense. The solution to these delicate situations lies entirely in how you address wedding invitation envelopes.
Addressing Plus-Ones and Inner Envelopes
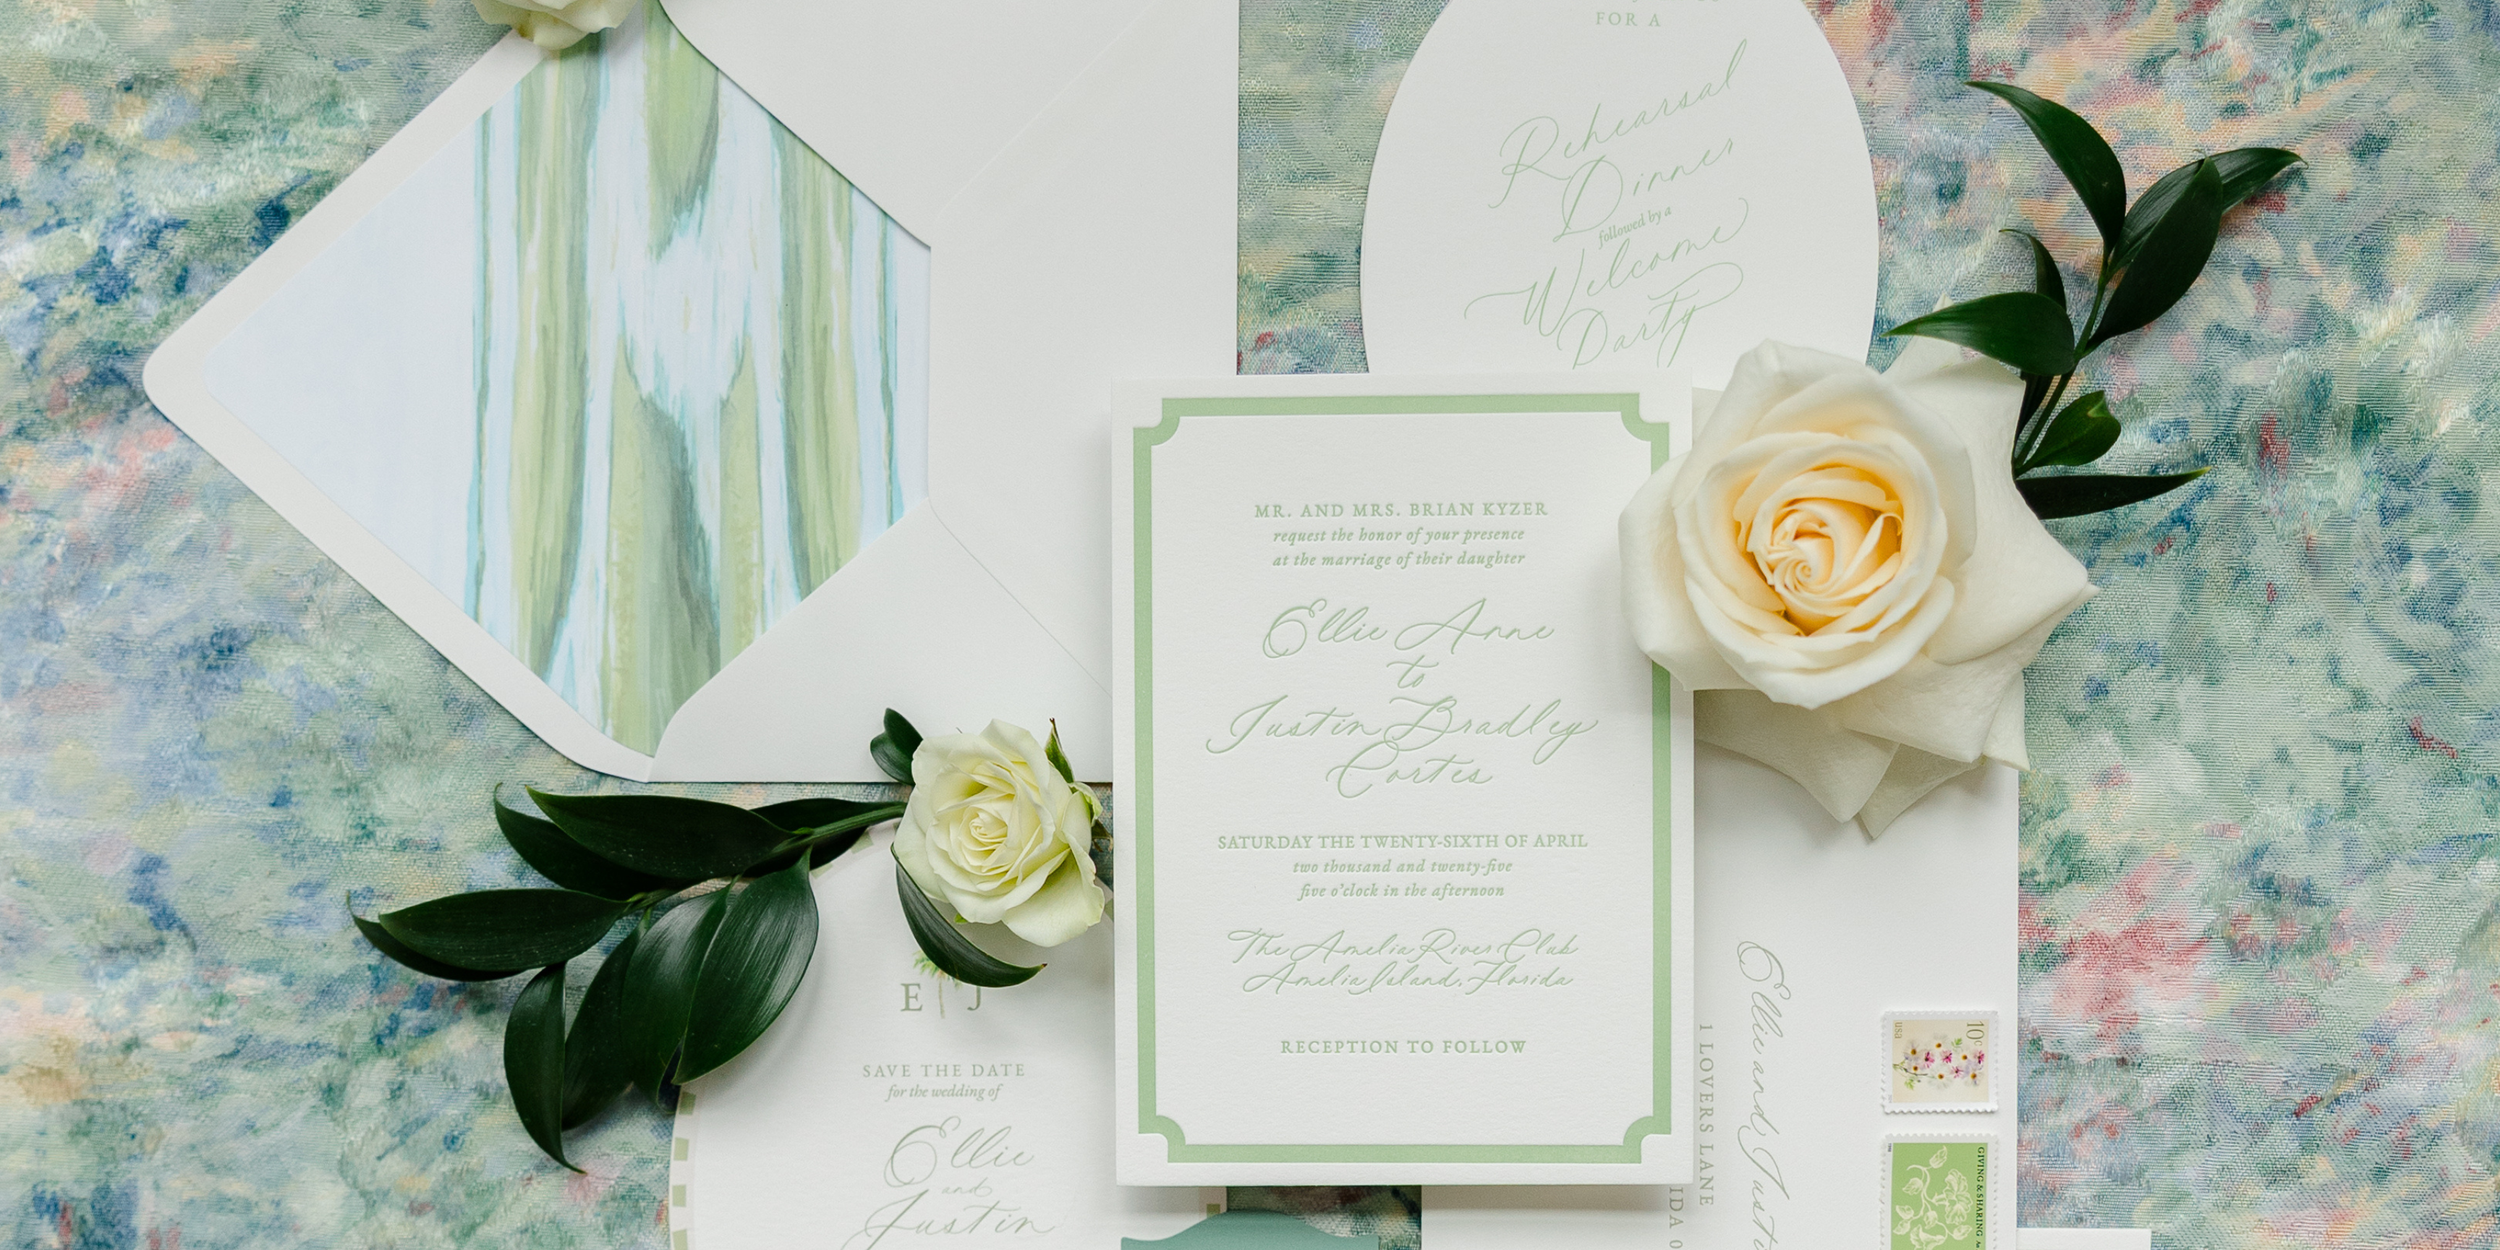
A traditional luxury suite utilizes two envelopes: an outer envelope for the mailing address, and an inner envelope that strictly specifies exactly who is invited. This inner envelope acts as a polite but firm gatekeeper when addressing plus-ones.
Known Companions: If you are extending a plus-one to a single guest, you should make every effort to learn their companion's name and write it on the inner envelope (e.g., "Mr. Davis and Ms. Miller"). If no extra guest is included, a solo invite is appropriate for a single person.
Unknown Plus-Ones: If the romantic partner's name is truly unknown, or you are offering a blanket plus-one, "Mr. Davis and Guest" is acceptable on the inner envelope.
Couples: For a married couple, use both spouses' names together on the inner envelope (e.g., "Mr. and Mrs. Thomas Hartley").
The absolute clarity of the inner envelope prevents guests from assuming they can bring a date. If your suite does not utilize an inner envelope, this exact phrasing must go on the outer envelope, and only those specifically invited should appear there or on the inner envelope.
Separate invitations are required for adult children, even if they live with their parents.
How do we convey that children aren't invited to our wedding?
The most polite way to convey that children are not invited is through intentional name placement on your suites. By listing only the parents' names on the inner and outer envelopes, you firmly establish an adults-only wedding invitation policy without printing restrictive language directly on the suite, and this makes clear that only the named guests are invited, not other guests.
If children were invited, the inner envelope would read: "Mr. and Mrs. Sterling / Emma and Jack." It is considered poor etiquette to print "Adults Only" or "No Children" directly on the main wedding invitation. However, to mitigate pushback, you may include a delicate note on the Details Card or your wedding website, such as, "While we adore your little ones, our celebration will be an adults-only affair." Share rehearsal dinner details separately, and only with close friends, immediate family, or others who are invited to attend. If guests reply with children's names, reach out promptly and kindly to clarify the invitation was intended for the adults only.
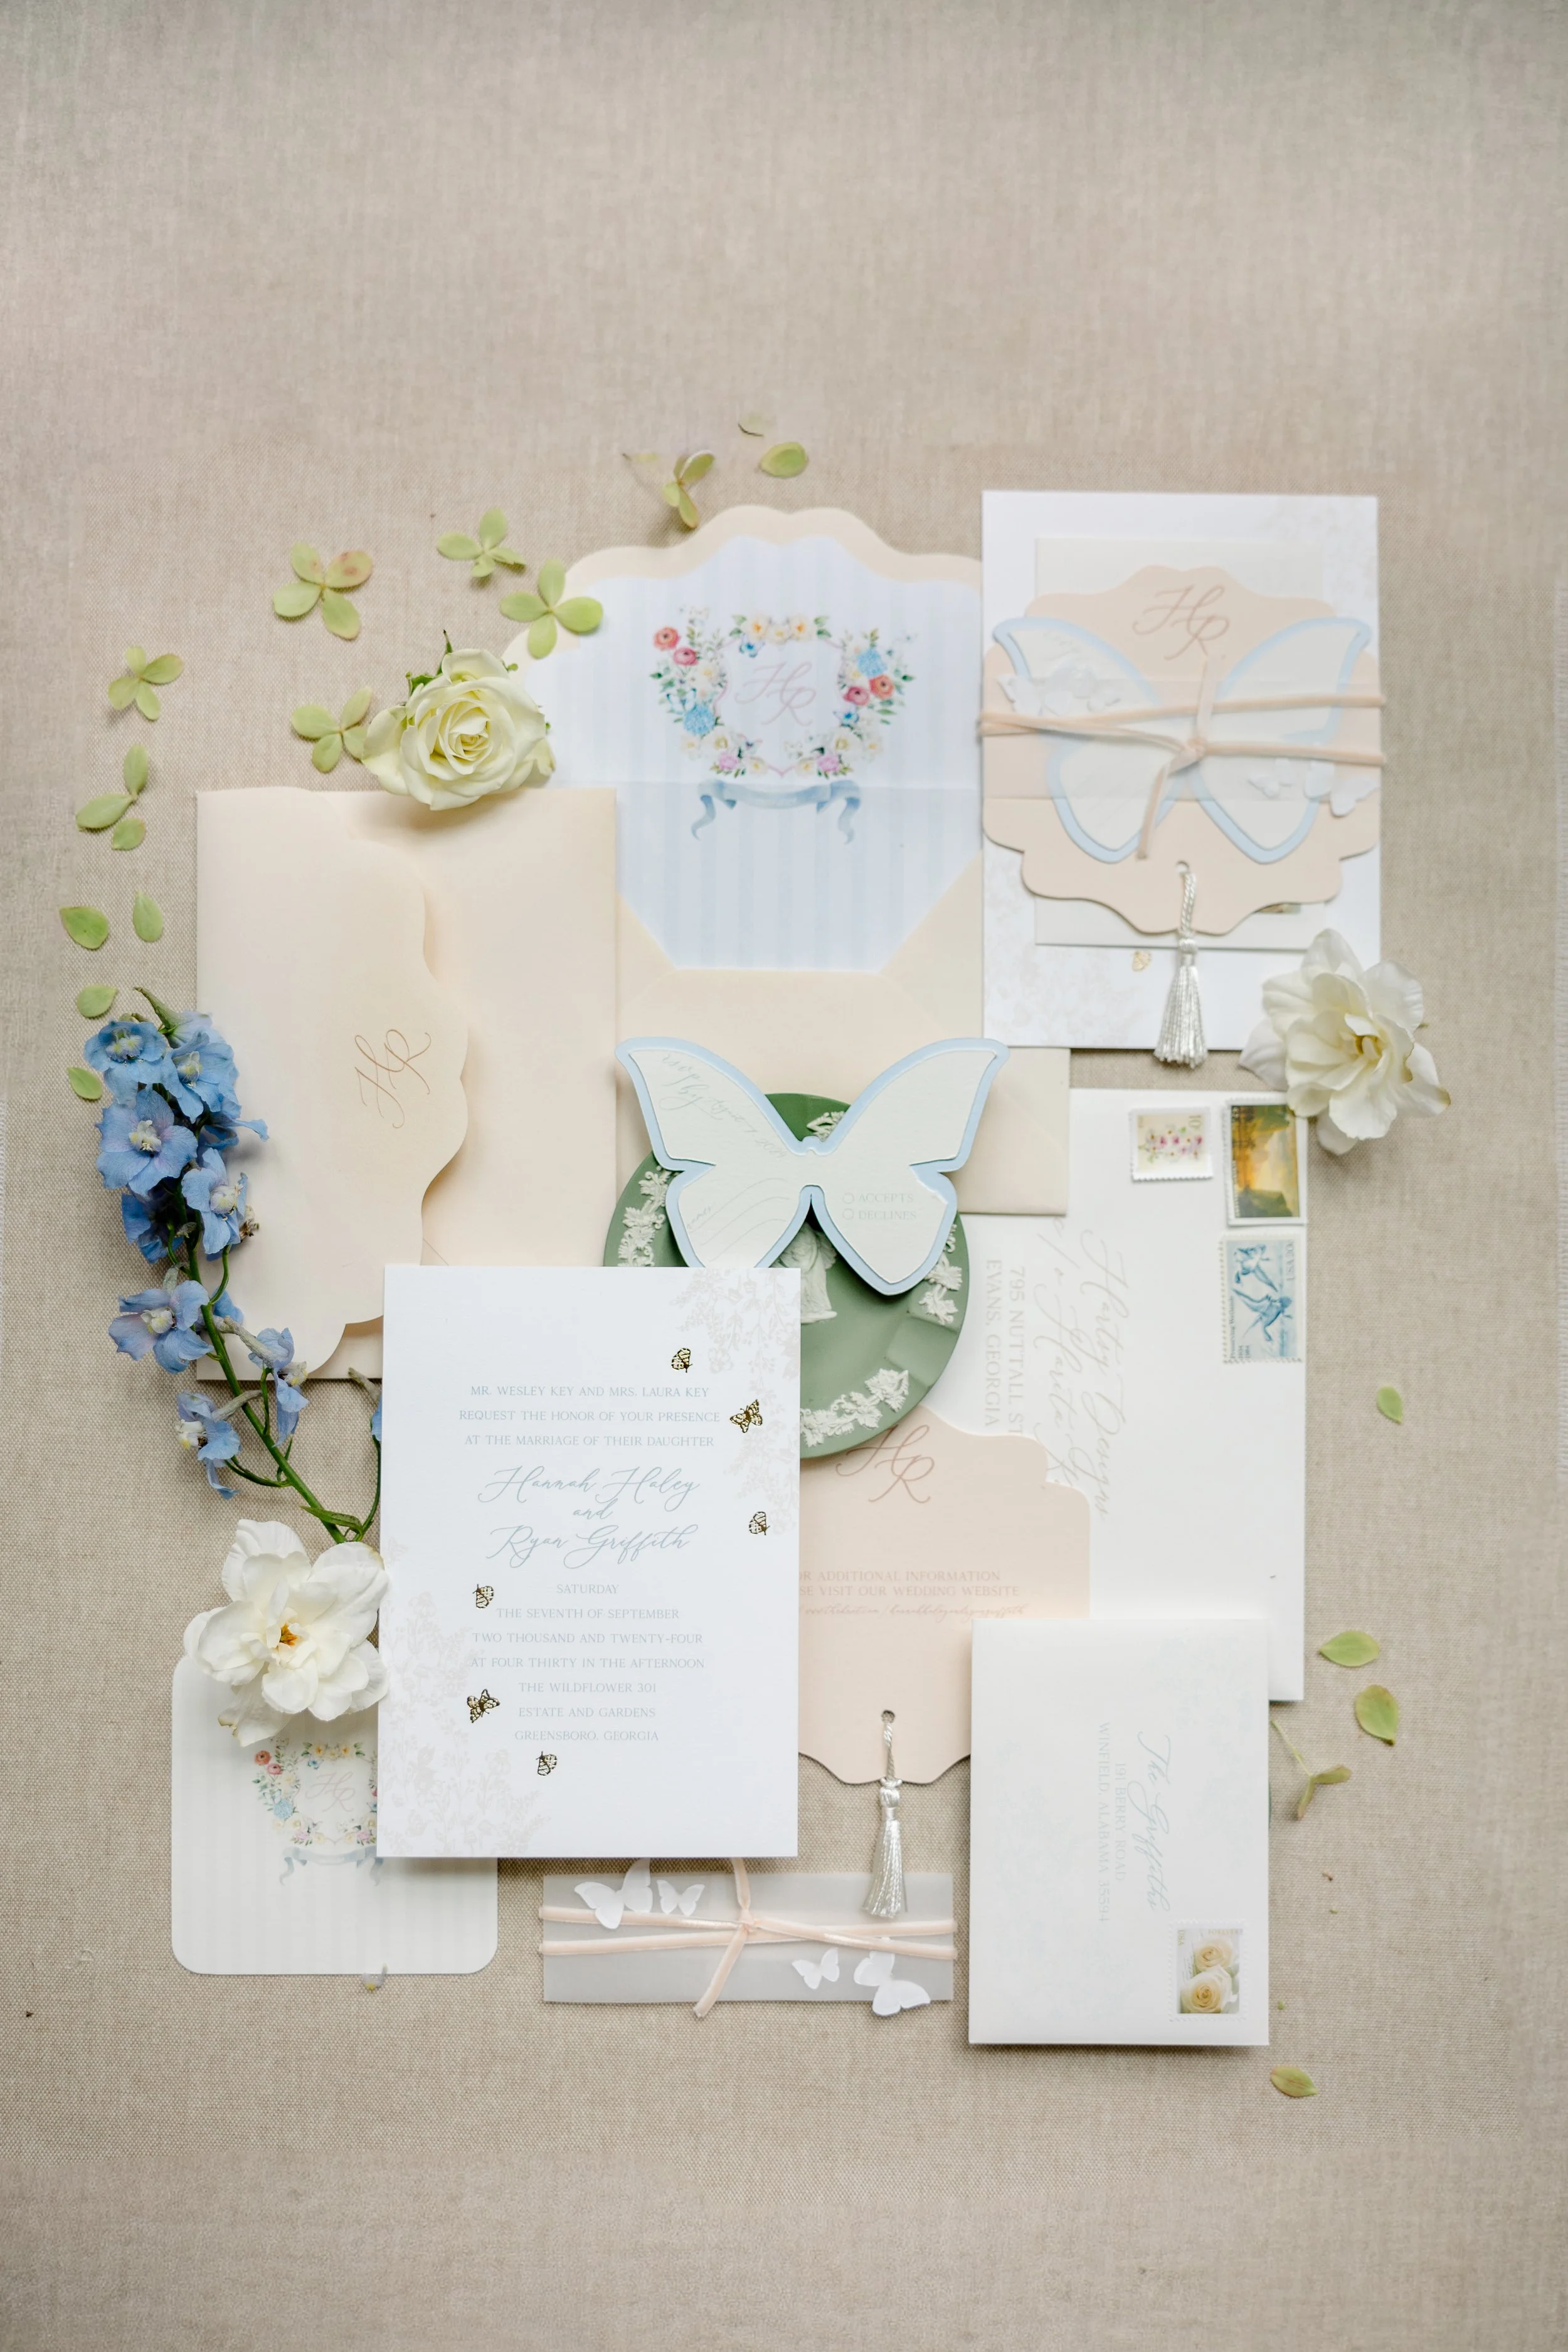
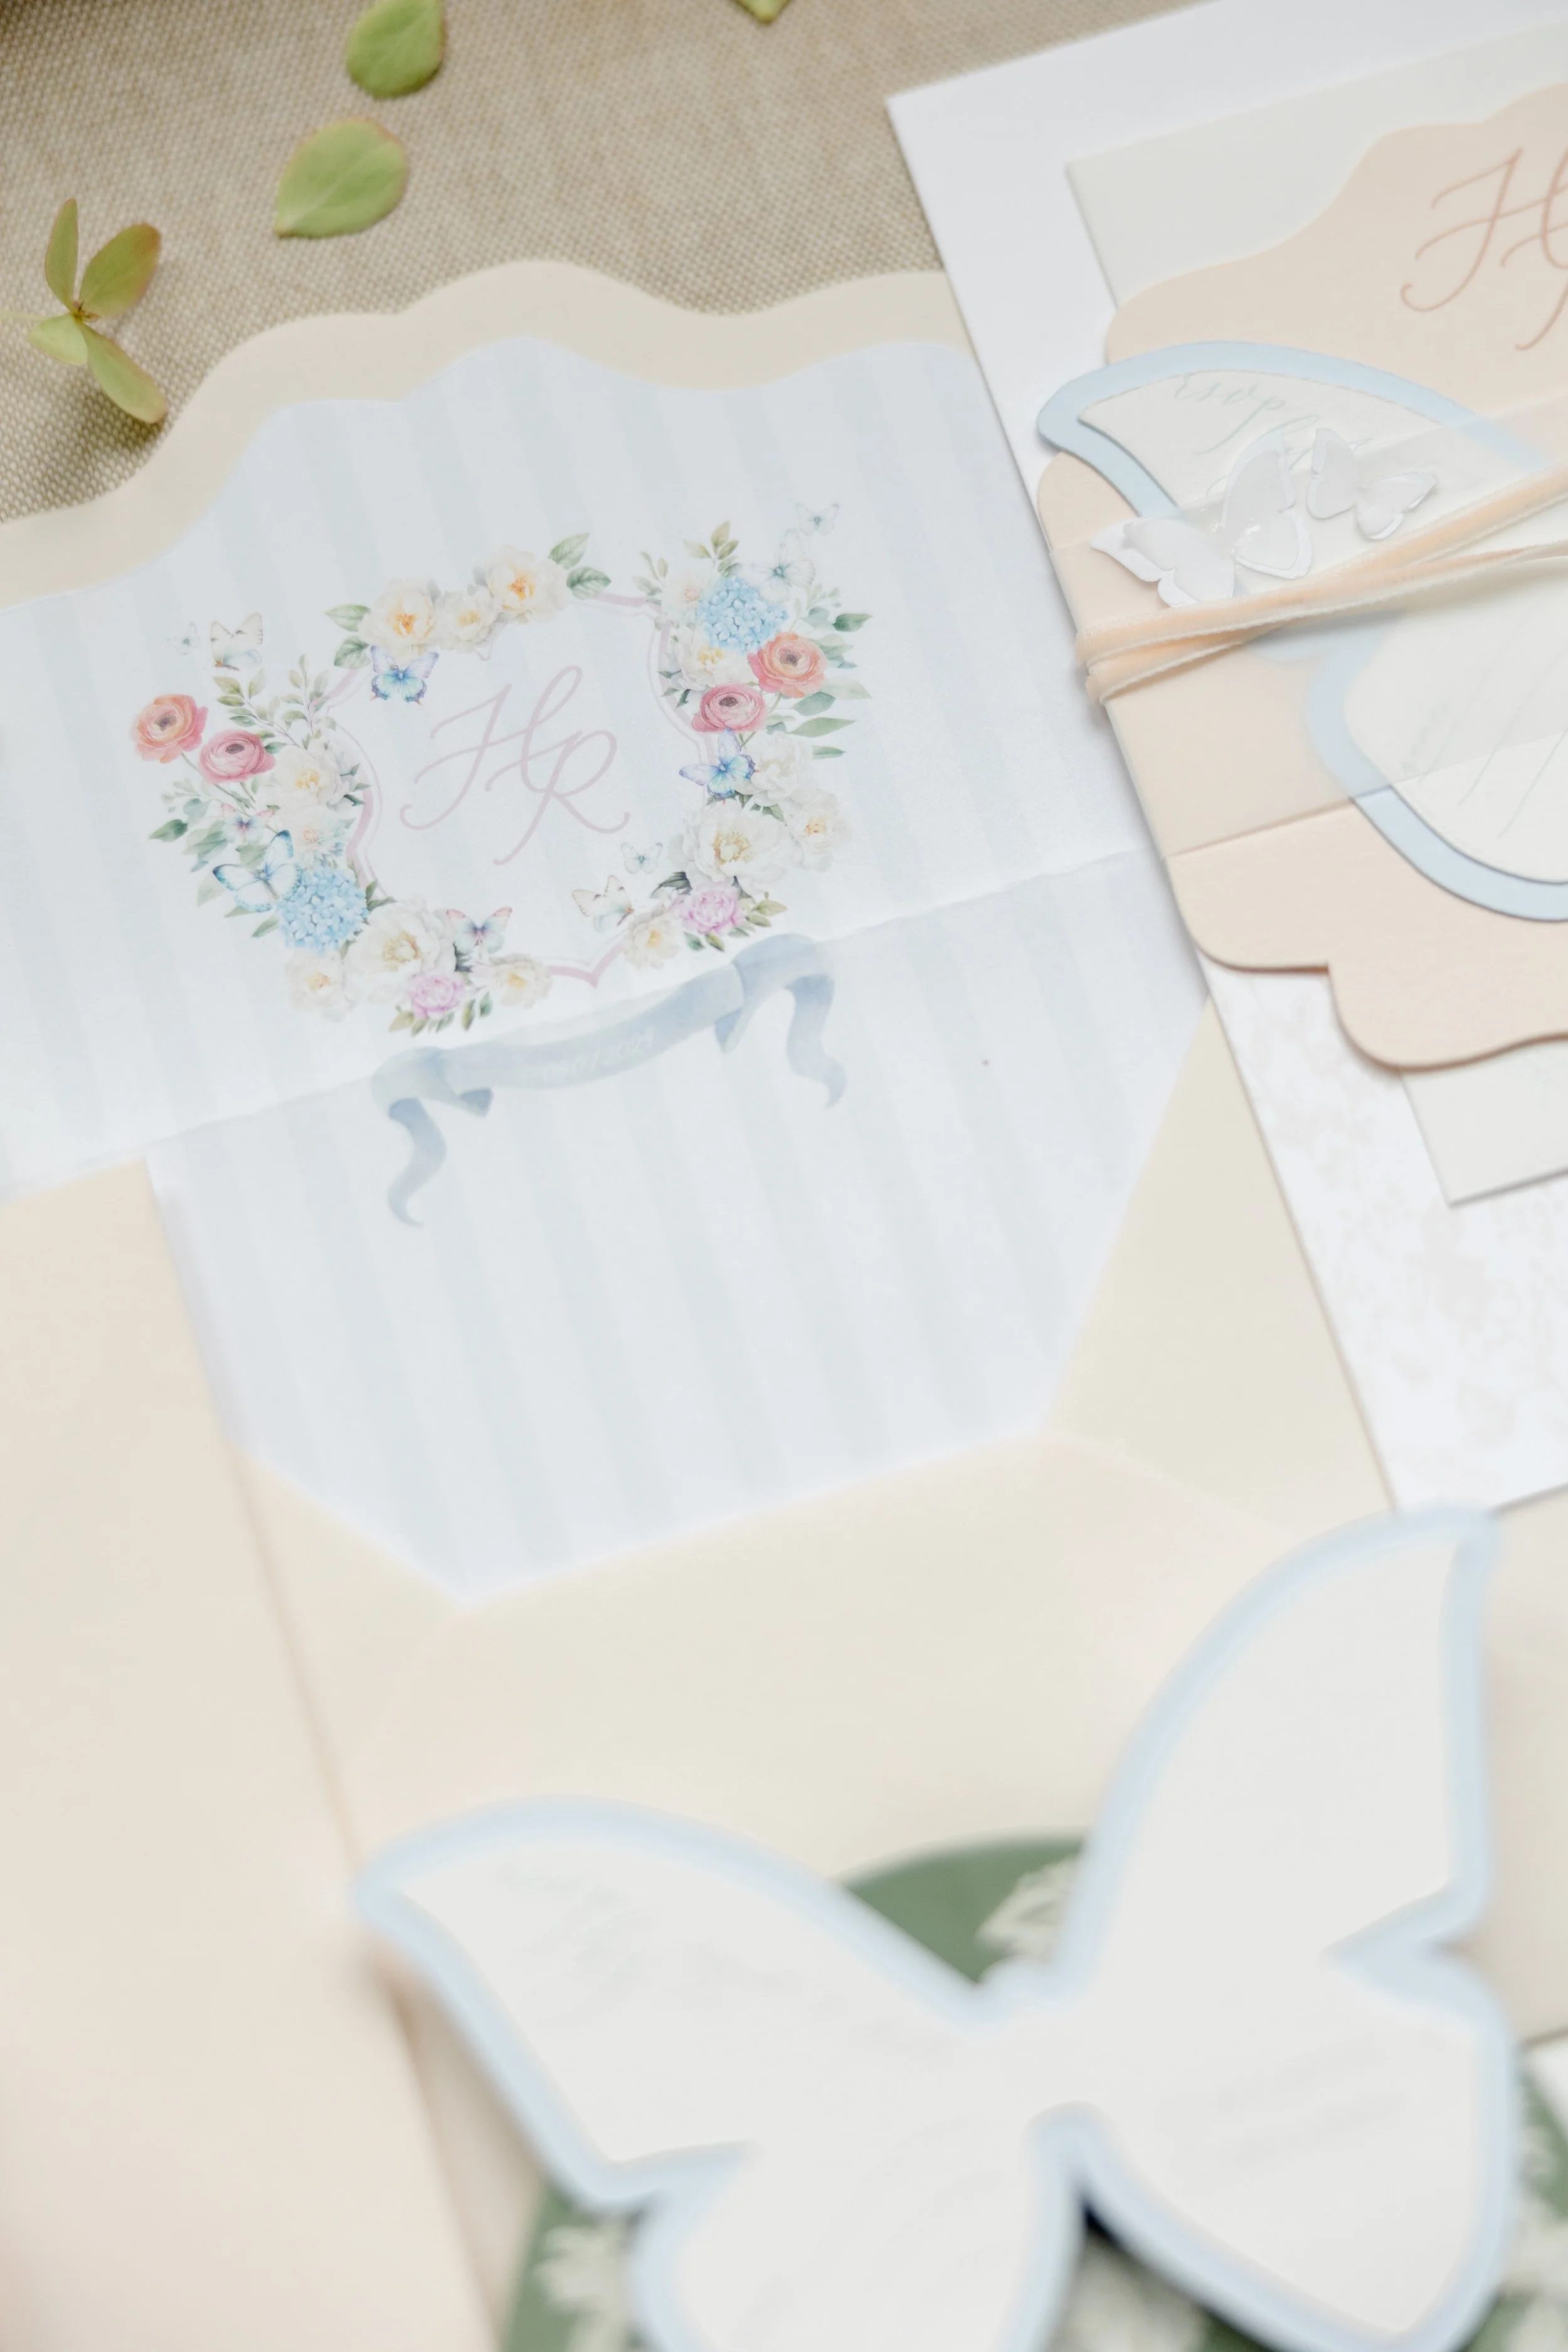
The Tactile Reality: Assembly, Postage, and Mailing Etiquette
The bespoke stationery difference lies in the tangible, sensory experience, which stands in stark contrast to the quick glance of a digital invite. Opening a custom envelope is a curated moment for your guests, from the heavy weight of the paper to the texture of letterpress or a broken wax seal. However, these elevated physical details require specialized postal handling that standard flat paper does not.
Stacking Your Invitation Suite
Whether you choose mailed suites or digital wedding invitations, suite cohesion is paramount when assembling your physical invitations for mailing. The stacking order is traditionally based on size, creating a tiered effect that is visually pleasing when pulled from the envelope.
The Bottom Layer: The main invitation goes on the bottom, face up.
The Middle Layers: Place the Reception Card, followed by the Details Card.
The Top Layer: Finally, place the RSVP card (tucked securely under the flap of its reply envelope, printed with your return address, and paired with a stamped return envelope) on top.
Using only one envelope is perfectly acceptable when an inner envelope is not needed.
If your suite includes artisanal elements like vellum wraps, delicate silk ribbons, or custom belly bands, these keep the stacked enclosure cards perfectly aligned and secure as the guest slides the entire suite from the inner envelope.
Weighing and Hand-Canceling Custom Suites
Luxury materials have distinct mass and rigidity. Thick cotton paper, double-thick outer envelopes, and wax seals significantly alter the weight and flexibility of your mail. Never guess your postage. Before buying stamps, assemble one complete, fully stuffed suite and take it to your local post office. Suites with wax seals or stiff materials will often trigger a "non-machinable surcharge," requiring extra custom postage.
We also heavily advise hand-canceling wedding invitations. Standard USPS sorting machines use aggressive rollers that can crush wax seals or tear delicate outer envelopes. Hand-canceling means a postal worker physically stamps the postage to invalidate it, minimizing exposure to the most aggressive initial sorting machinery. It is a vital etiquette step to ensure the beautiful, bespoke stationery you invested in arrives at your guests' doors in pristine condition.
Ensuring a Cohesive Aesthetic Beyond the Mailbox
The etiquette and aesthetic established in your invitation suite serve as the foundation for your entire event's visual system. The tactile choices you make early on—the specific texture of handmade paper, the hue of foil stamping, and the formality of your typography—echo throughout your wedding day to create a thoughtful, immersive experience.
This continuity translates seamlessly into your day-of touchpoints. The script chosen for your formal request line reappears on your welcome signage. A custom crest pressed into a wax seal can grace your menus, seating charts, and itineraries for your wedding party.
At Hartsy Designs, we specialize in this connection, moving effortlessly from the initial paper concept to full-scale, day-of execution. By pairing proper etiquette with intentional design starting with your invitations, you set a standard of care that flows through every detail of your celebration.